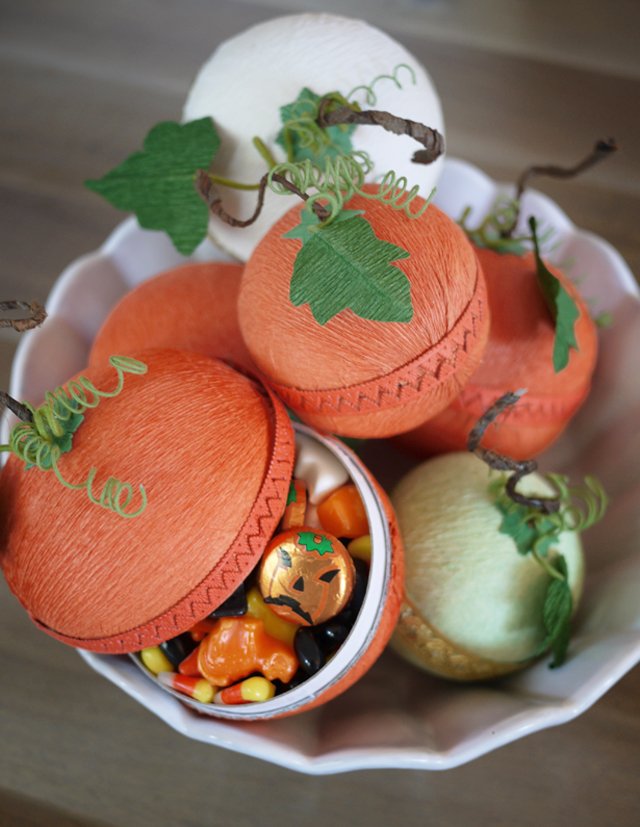
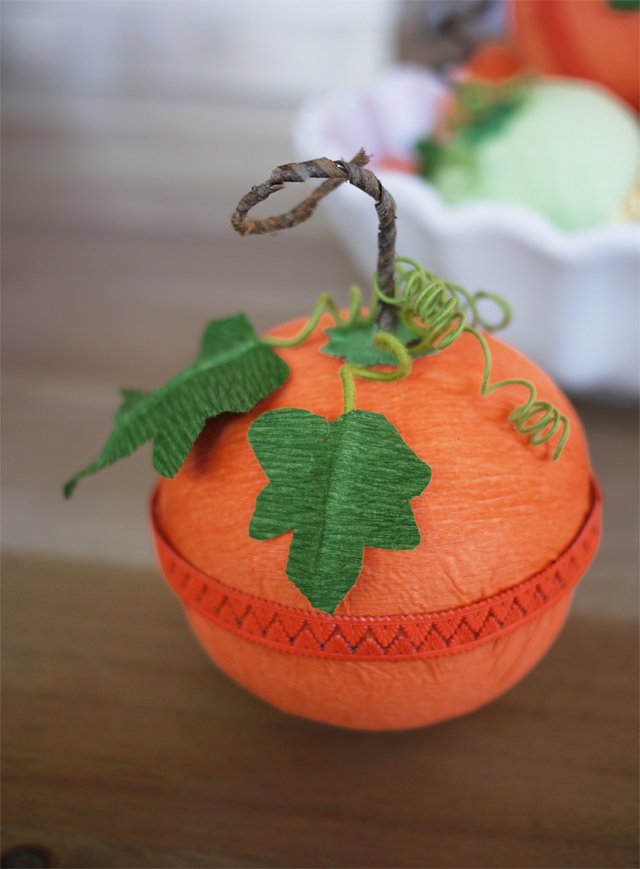
I love Halloween. I love it for many reasons but mostly because it marks the beginning of a craft-filled holiday season and challenges my creativity after a summer dry spell. This year, I had the idea of making mini pumpkin piñatas by papier mâching small balls and filling them with candy. Or spiders. But the thought of whipping up a messy batch of flour and water and spending an entire day waiting for a bunch of balls to dry seemed far too time consuming – especially for a new mom, like me. Thankfully one of my favorite stores Castle In The Air carries pre-made papier mâché balls from Germany that almost perfectly resemble the shape of plump pumpkins. This is a super fun project and the perfect thing to pass out to your guests at this year’s Halloween bash!
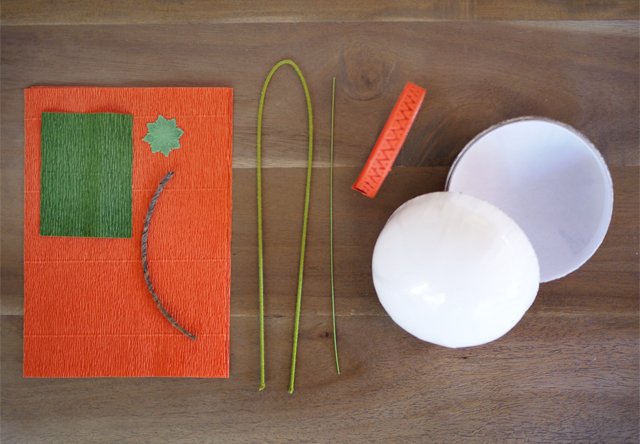
You’ll need:
- a papier mâché ball box
- floral crepe paper
- dresden trim (I used green stars, zig zag orange trim, and gold scallop borders)
- floral wire (thick and thin)
- bark covered wire
- sharp scissors
- tacky glue
- a small flat paint brush
- wire cutters
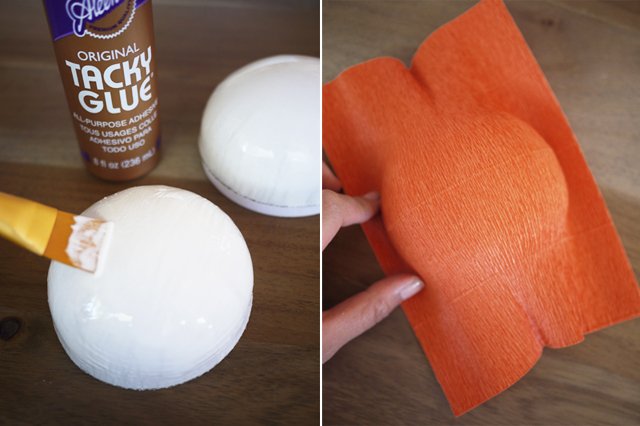
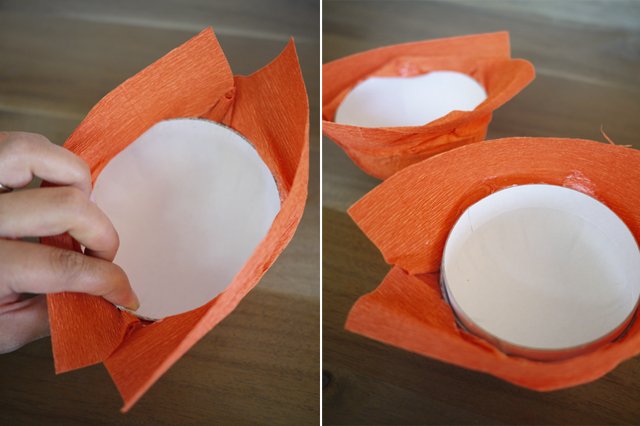
Start by applying a thin layer of tacky glue over the surface of the papier mâché ball. Take a piece of crepe paper and cover one half of the ball.
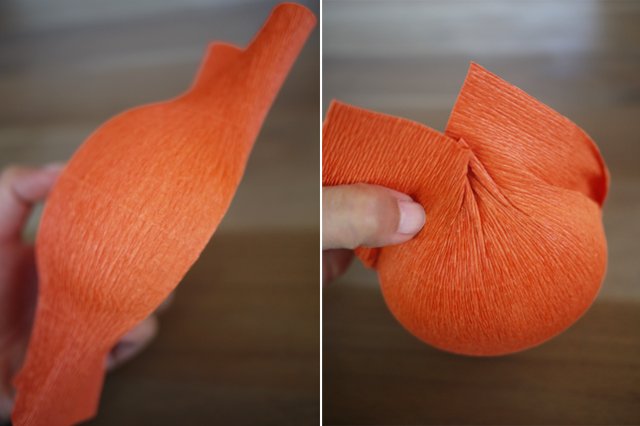
Lightly stretch the paper over the edge of the ball. This will prevent the top and bottom from pleating too much. Gently pull in the areas where there are air bubbles or wrinkles.
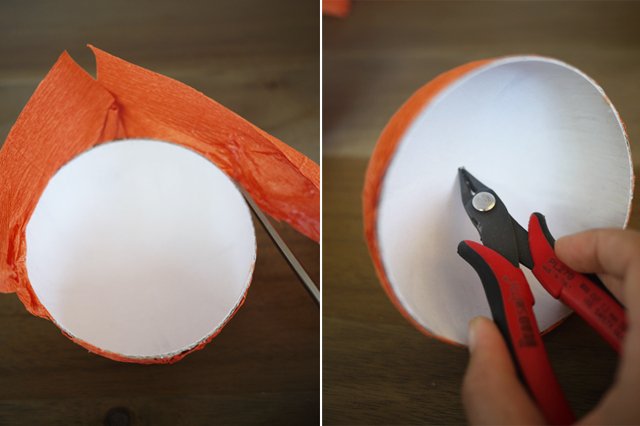
You will have to work the paper and the half sphere around in your hands, gently shaping it onto the glue and holding the paper in place until it holds. Repeat on the other half and allow both sides to dry completely.
Using a small pair of sharp scissors, neatly trim the edges. Use a sharp tool to pierce a small hole through the center of the top half.
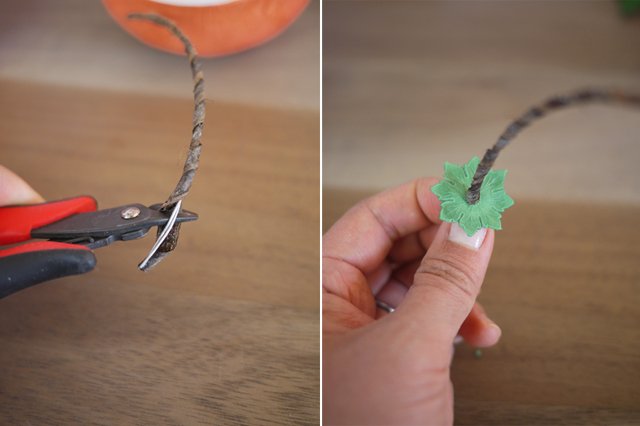
Peel away an inch of the bark from the floral wire and trim. Pierce it through a dresden medallion.
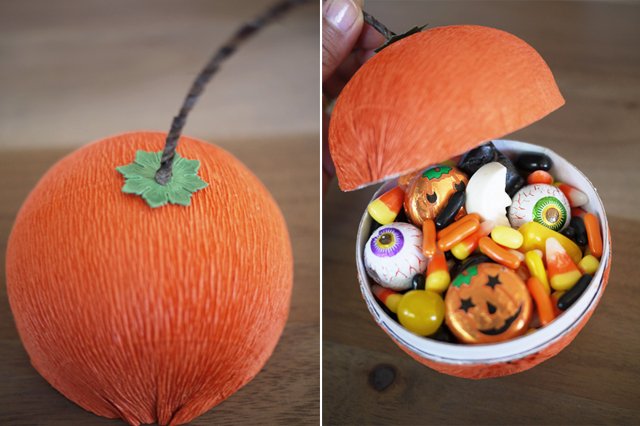
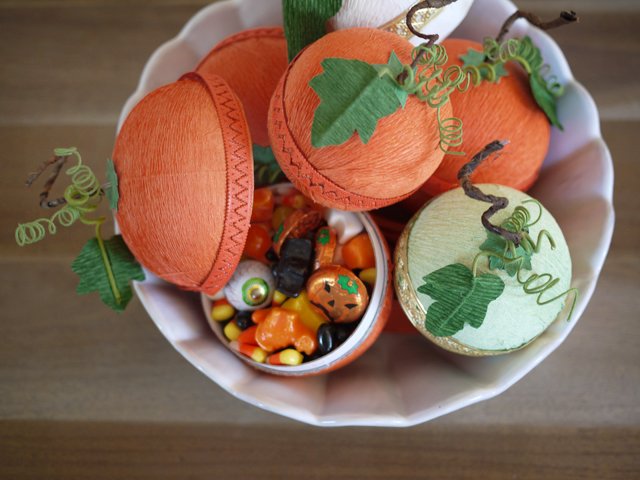
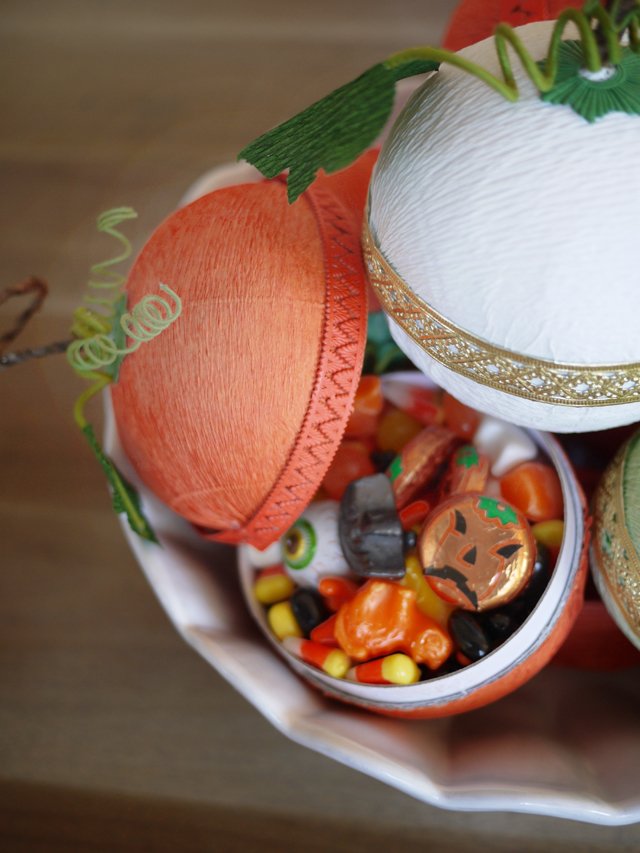
Push the wire through the hole, bend, and tape it to the inside of the ball. And fill the ball with your favorite treats . . . or tricks!
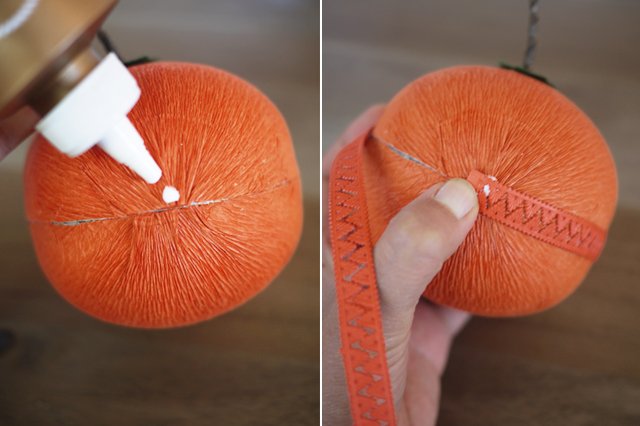
Glue on a strip of trim or ribbon to hide the seam.
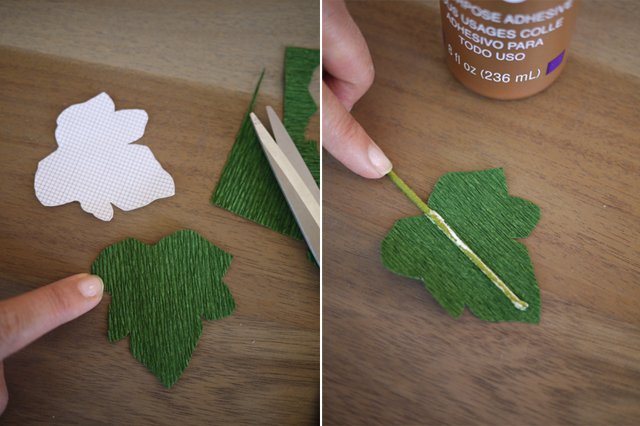
Find a pattern for a pumpkin leaf online, print it out and cut it to create a template. Dip the end of the thick floral wire into tacky glue and place it along the middle of the leaf.
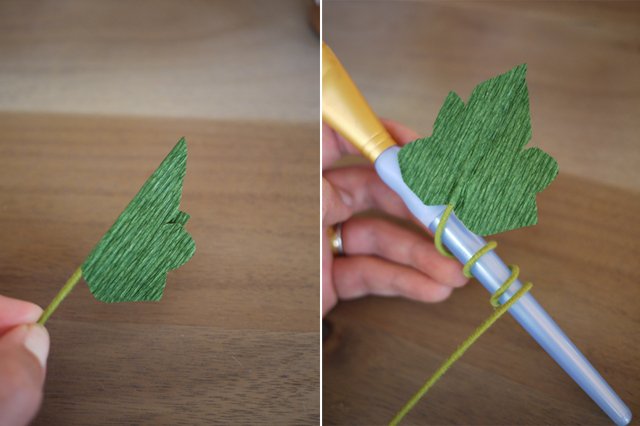
Fold the leaf in half and open it again so the middle vein shows. Wrap the rest of the wire around the end of the paint brush.
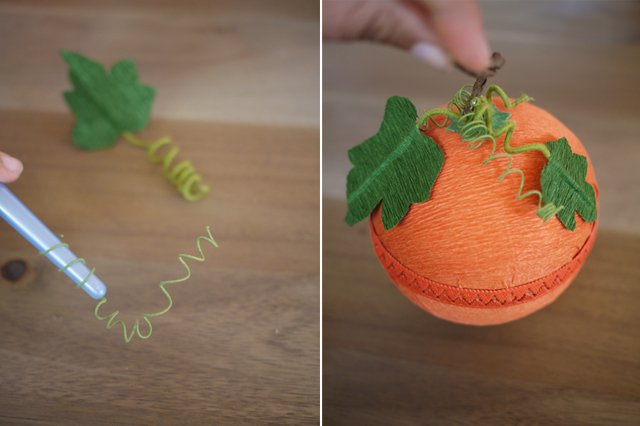
Do the same with the thin wire to create vines. Wrap the leaves and vines around the pumpkin stem. You can add a dab of glue to hold the leaves in place.
Viola, your pumpkins are finished!
Try making them in assorted sizes and using different colored crepe paper . . .
Who will get a trick and who will get a treat?!
(all images by HonestlyYUM)

Halloween is hands down my favorite holiday, mostly because of the amount of decorations I get to play with and see on the streets! These trick or treat balls turned out wonderfully, super cute!
So cute! What a great idea. I can totally see my mom making these and giving them to my girls at Halloween. They make a great decoration too!
https://www.etsy.com/shop/EarthChildArt?ref=si_shop
so adorable!
Molly {Dreams in HD}
http://dreamsinhd.blogspot.com/
This is such an incredible idea! Awesome treats are definitely memorable. I remember getting small baskets at one of the houses in my neighborhood when I was growing up… It was from a dentist. Chocolates, sweeties, toothpaste and floss. The perfect trick AND treat 🙂
oh these are super cute!
kw ladies in navy