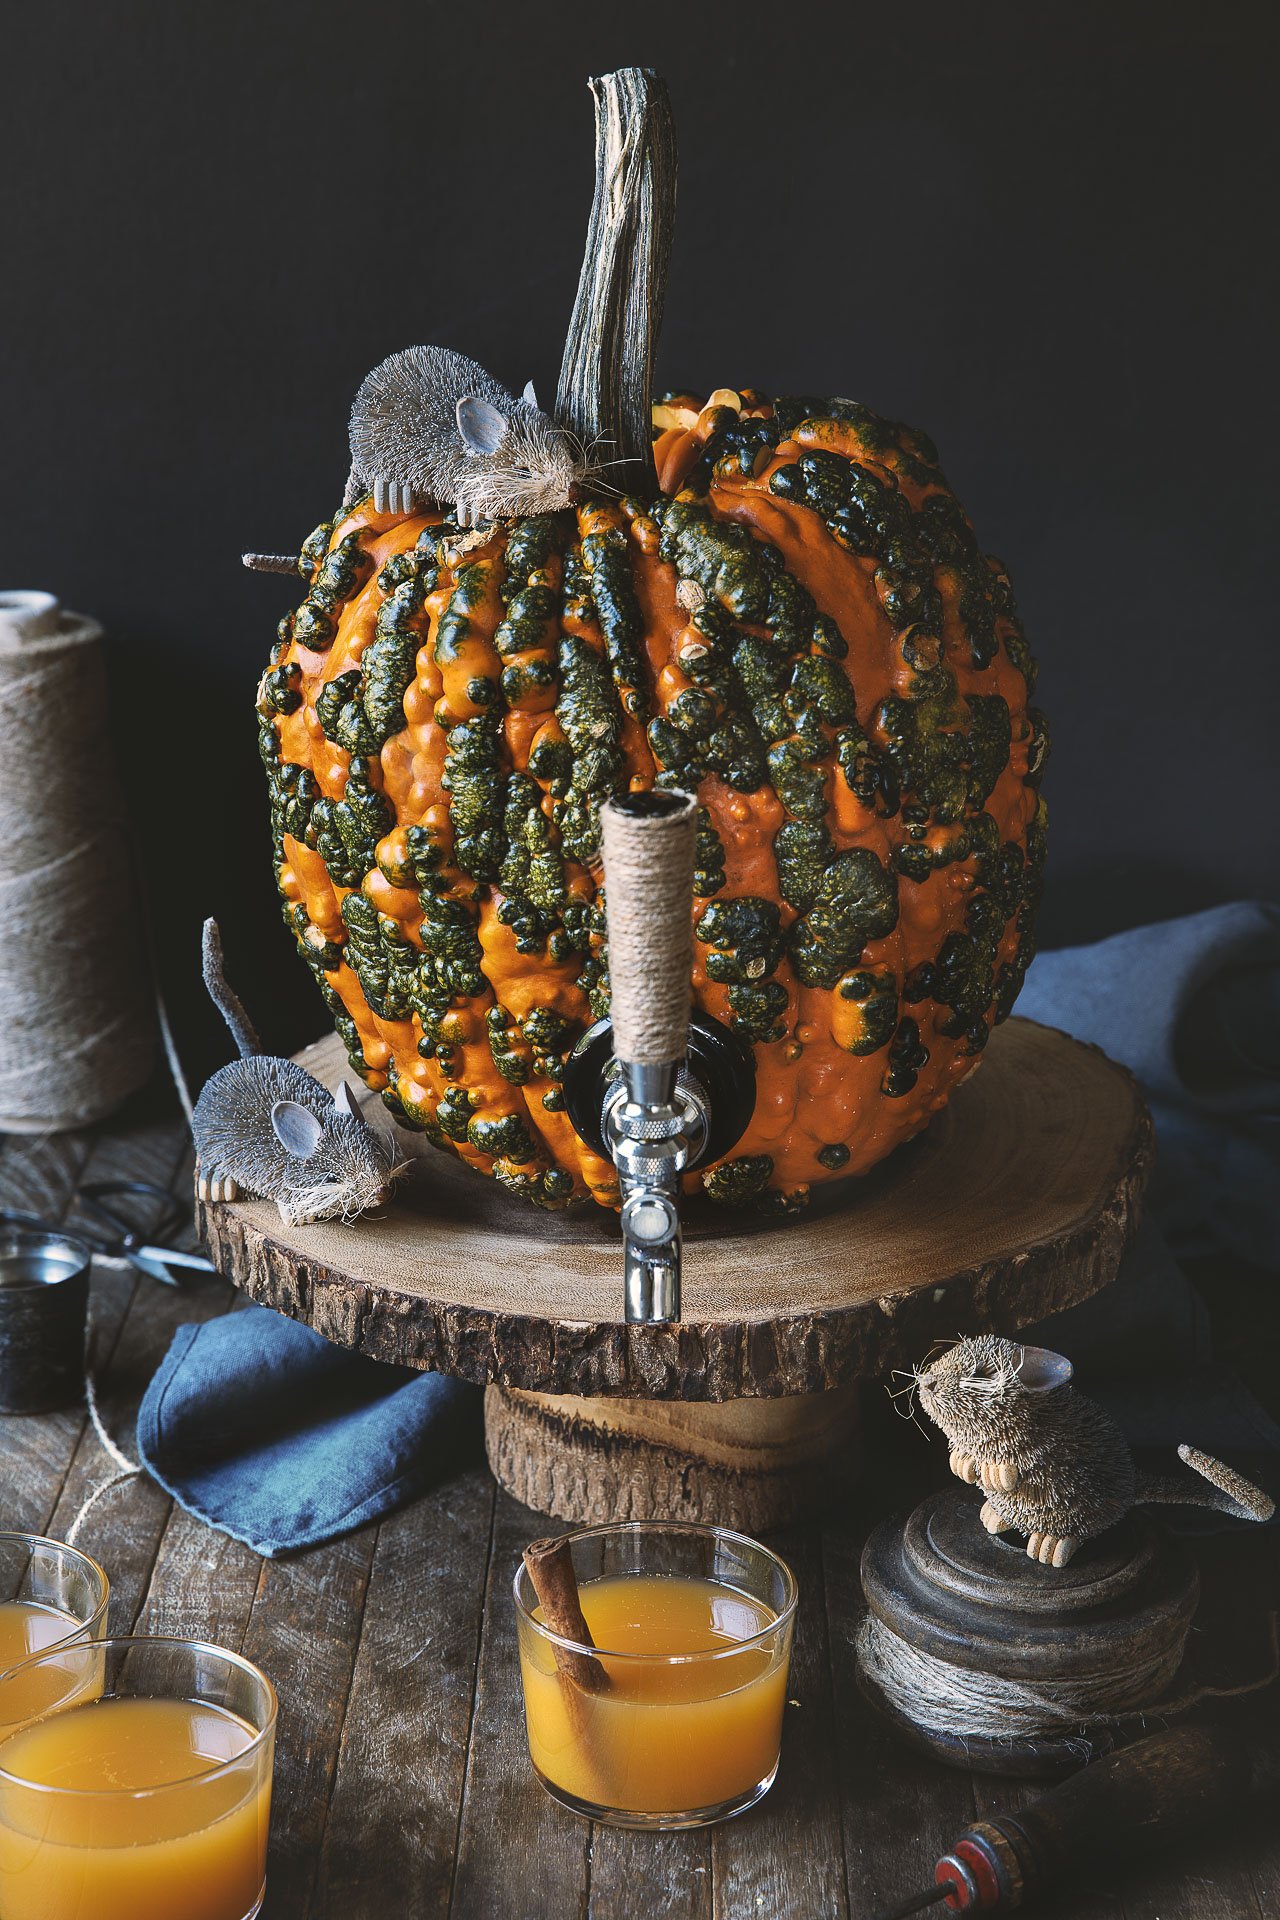
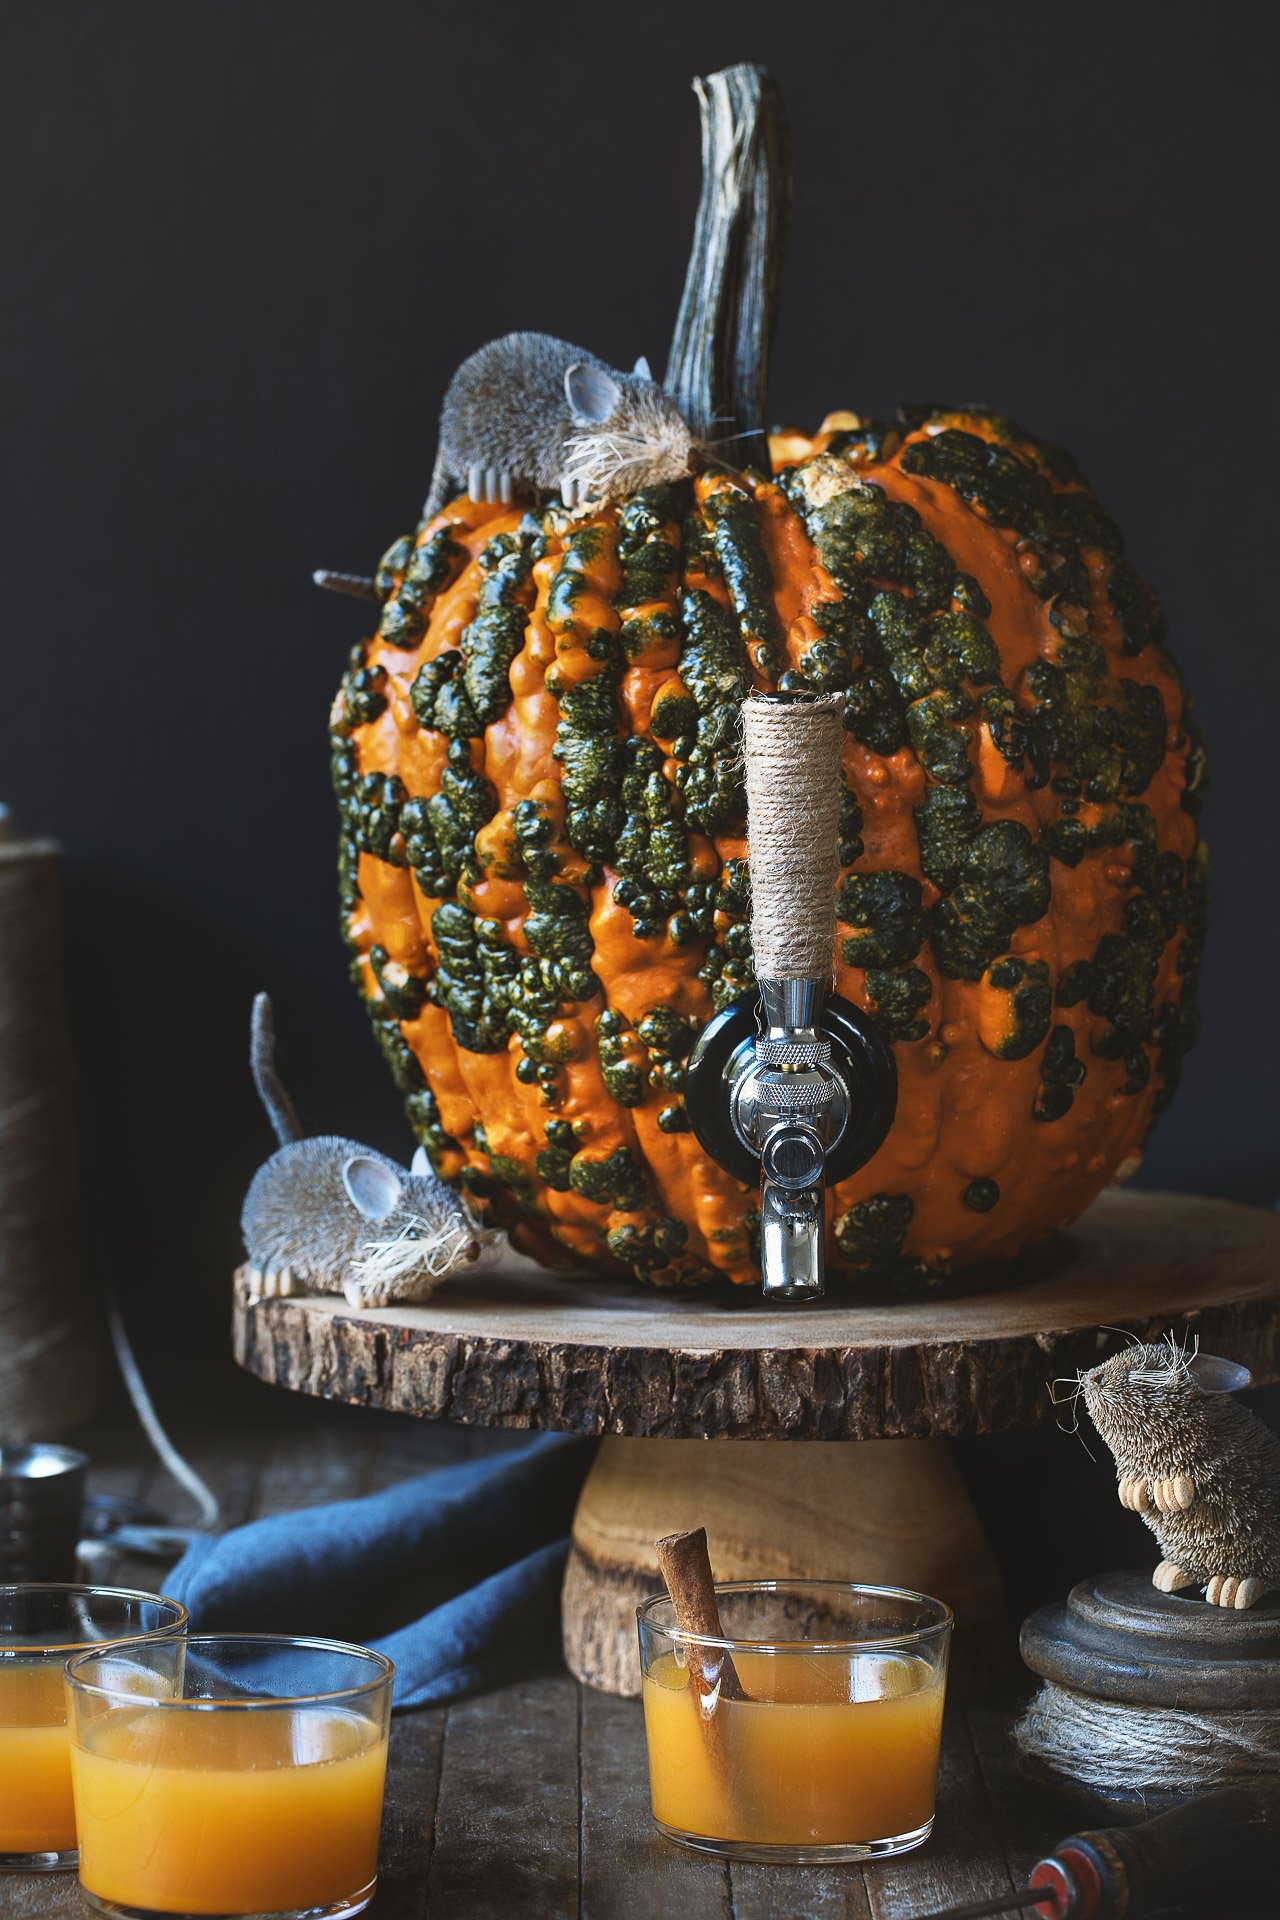
While I certainly don’t need any added incentives to drink booze from an obscure object, this ugly wart-filled pumpkin was just the right amount of creepy to get my creative juices flowing. Halloween is still a few days away, so I suggest you get your hands on this pumpkin tap kit asap! I filled up this here ugly pumpkin with my favorite pumpkin punch (yes indeed, pumpkin cocktails served straight from the source), but it would be the perfect vessel for some pumpkin ale as well. Oh, and don’t feel like a pumpkin keg is limited to just Halloween, this little entertaining trick would be perfect for all sorts of holiday gatherings. It’s incredibly simple to execute, and is sure to bring the wow-factor. Come to think of it, this is how I’m going to show up to every party from now on – pumpkin keg in hand.
Choose a Pumpkin
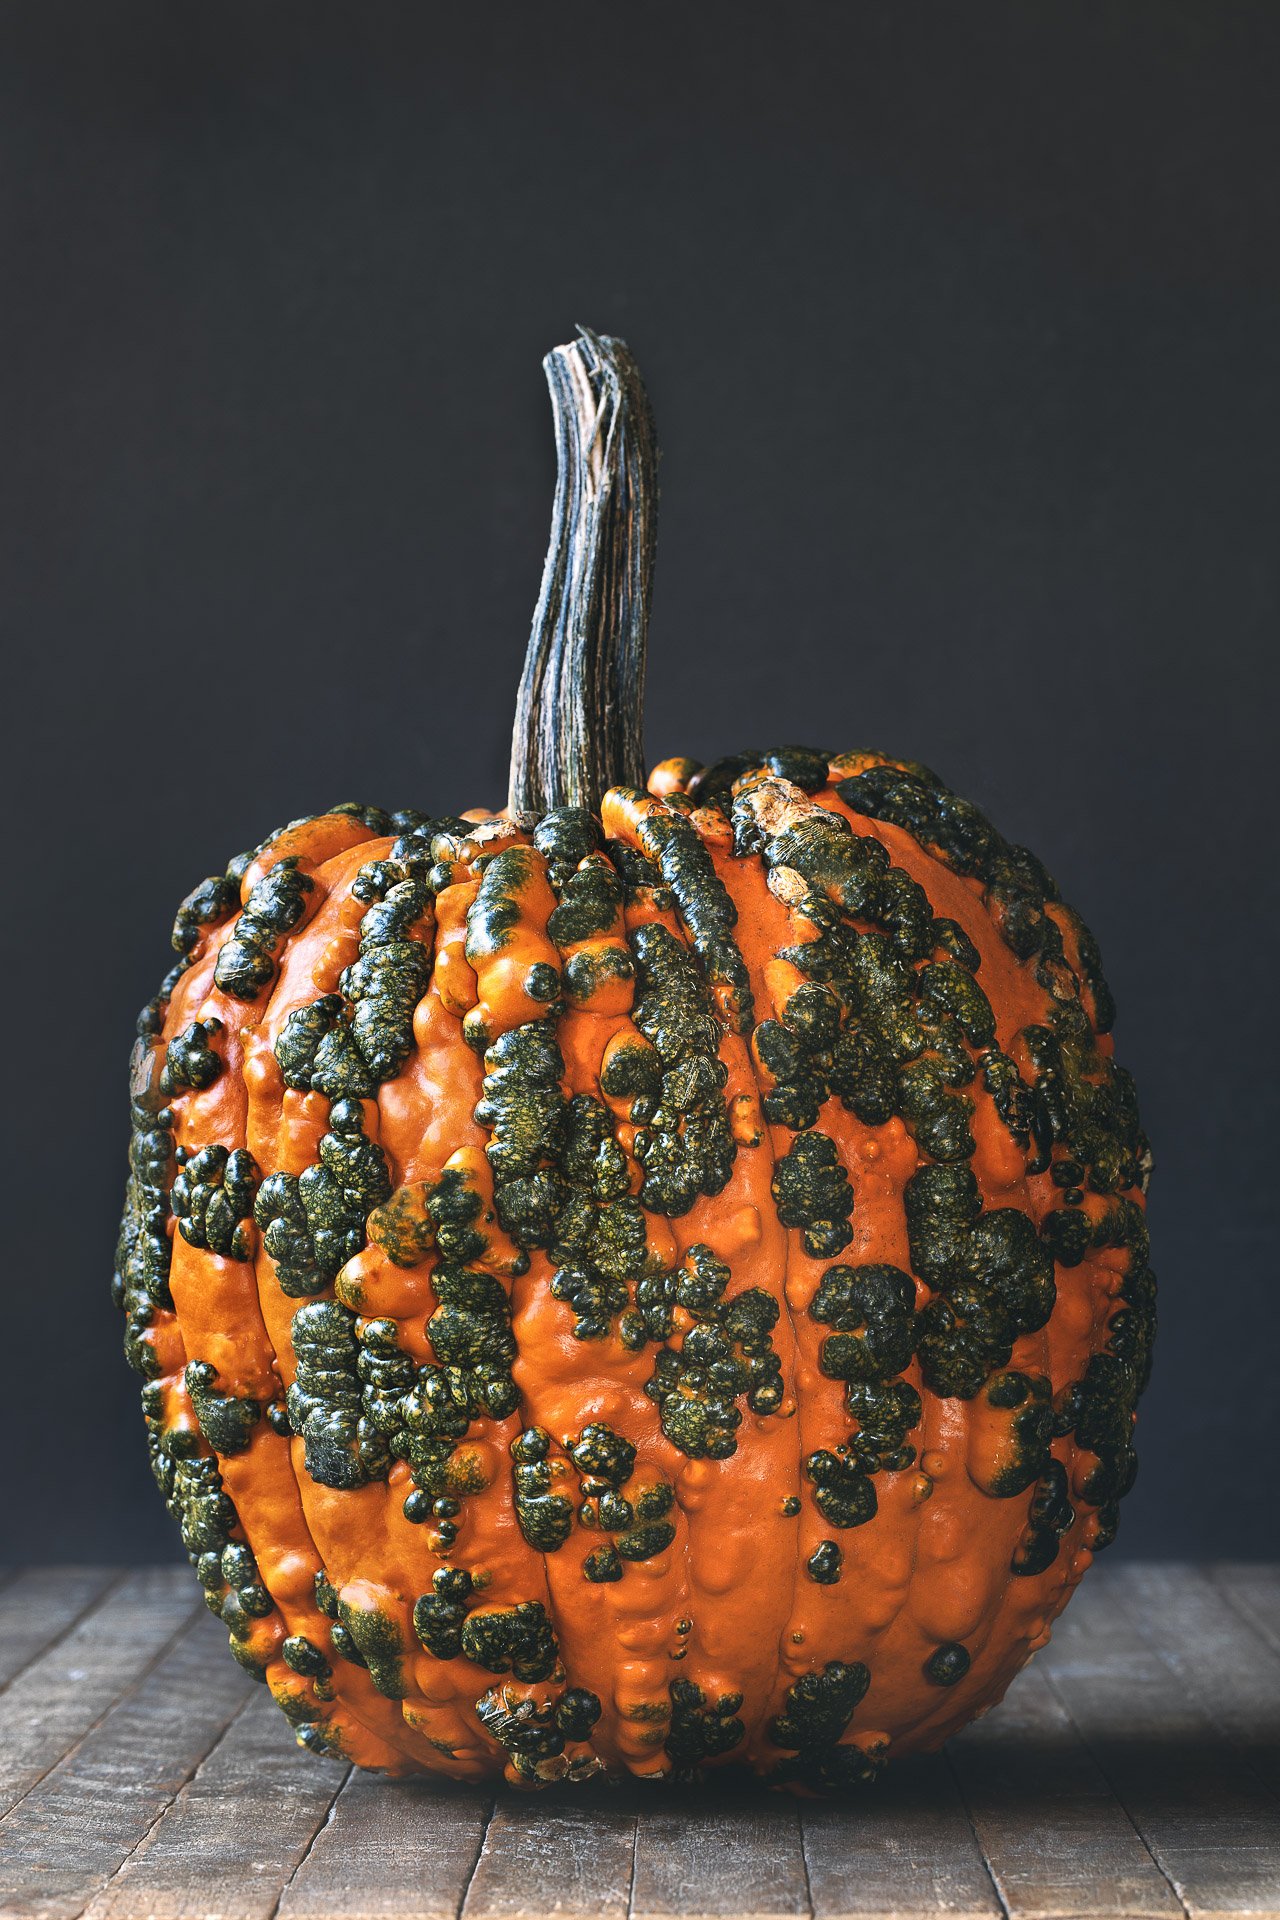
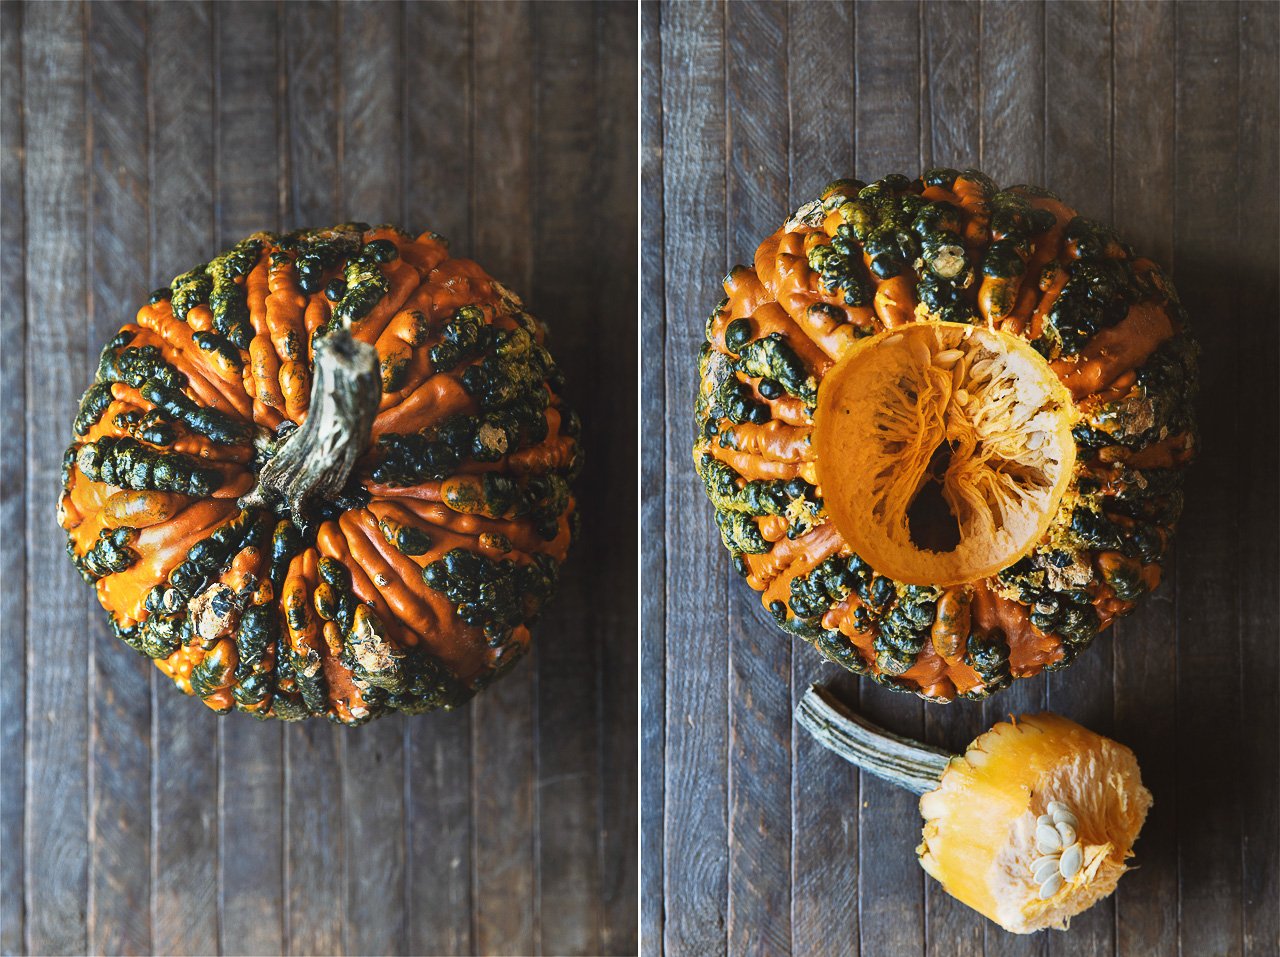
It may seem obvious, but it’s important to choose a pumpkin that is conducive to being filled with a beverage. For example, you’re going to want a pumpkin that sits up straight and stable. The last thing you need is a wobbly pumpkin that tips over the first time someone touches it. You’ll also want to choose a pumpkin that’s big enough that you won’t have to refill it every few minutes. This warty varietal that I used has a pretty hard outer skin, which is actually nice since it didn’t easily crack or leak. It just meant I had to use a more serious tool to do the work. Your typical Halloween-style pumpkin would work great as well.
Open the Pumpkin
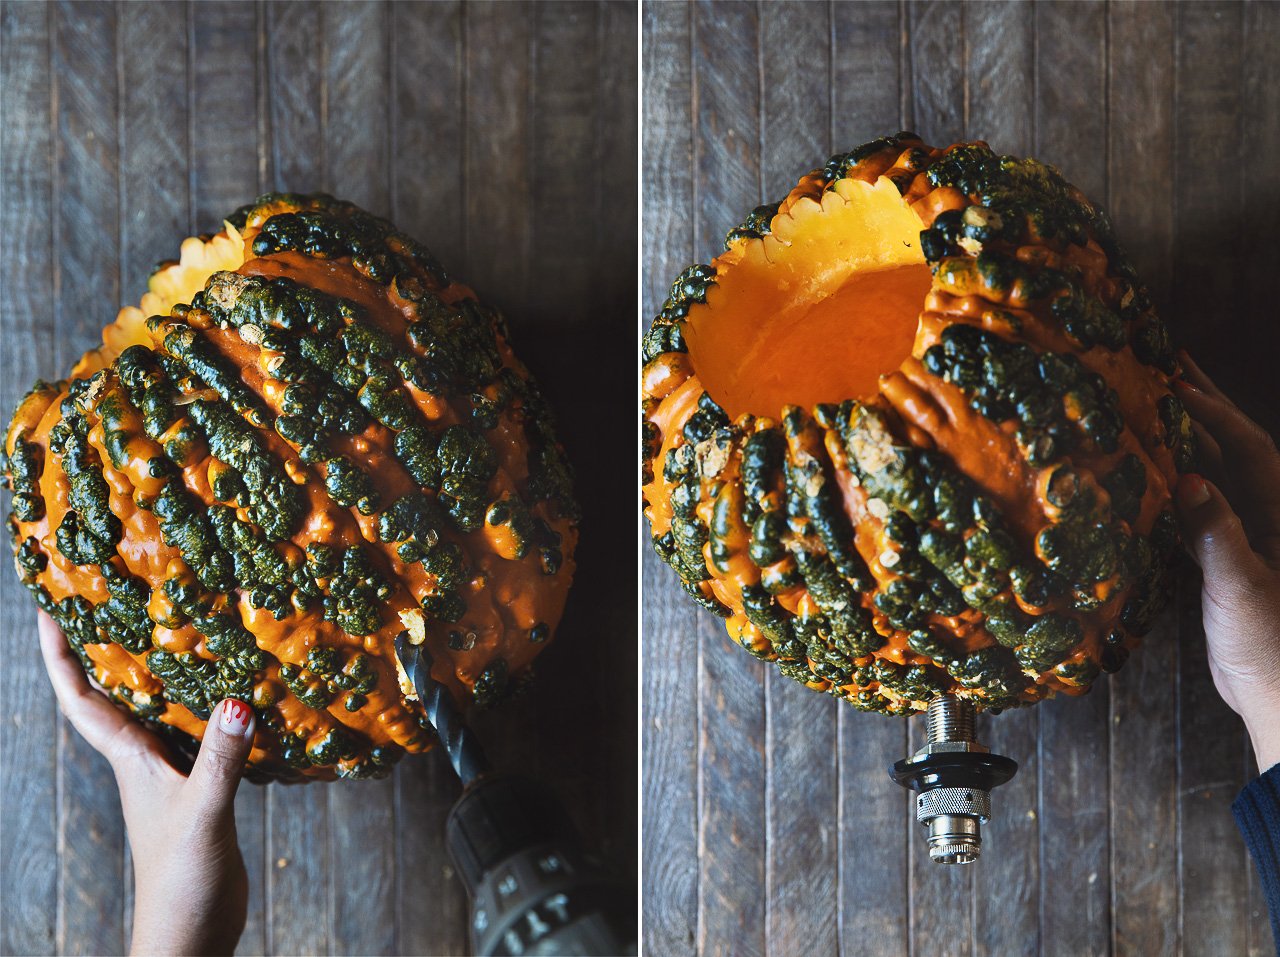
Make a circular cut around the top of the pumpkin to remove the stem, the same way you would if carving a jack-o’-lantern. Remove the insides of the pumpkin as much as possible. Any extra stringy bits of flesh or seeds could end up clogging your tap.
Cut Hole for the Tap
Cut a hole slightly smaller than the circumference of the tap. I suppose you could do this if you are skilled with your hands and have a very sharp knife, however I found it much easier to use a power drill with a large drill bit. Again, you’re going to want to make your hole slightly smaller than the tap. This is so that when you insert the tap you create a tight seal to prevent leaking. Screw the tap in until the outer nut is flush with the pumpkin, then screw on the faucet/lever, and you’re good to go!
Fill the Pumpkin
I recommend first filling the pumpkin with water to ensure you do not have any leaks. Test that the tap is working properly before dumping out the water. Once tested, fill the pumpkin with your cocktail, beer, etc.
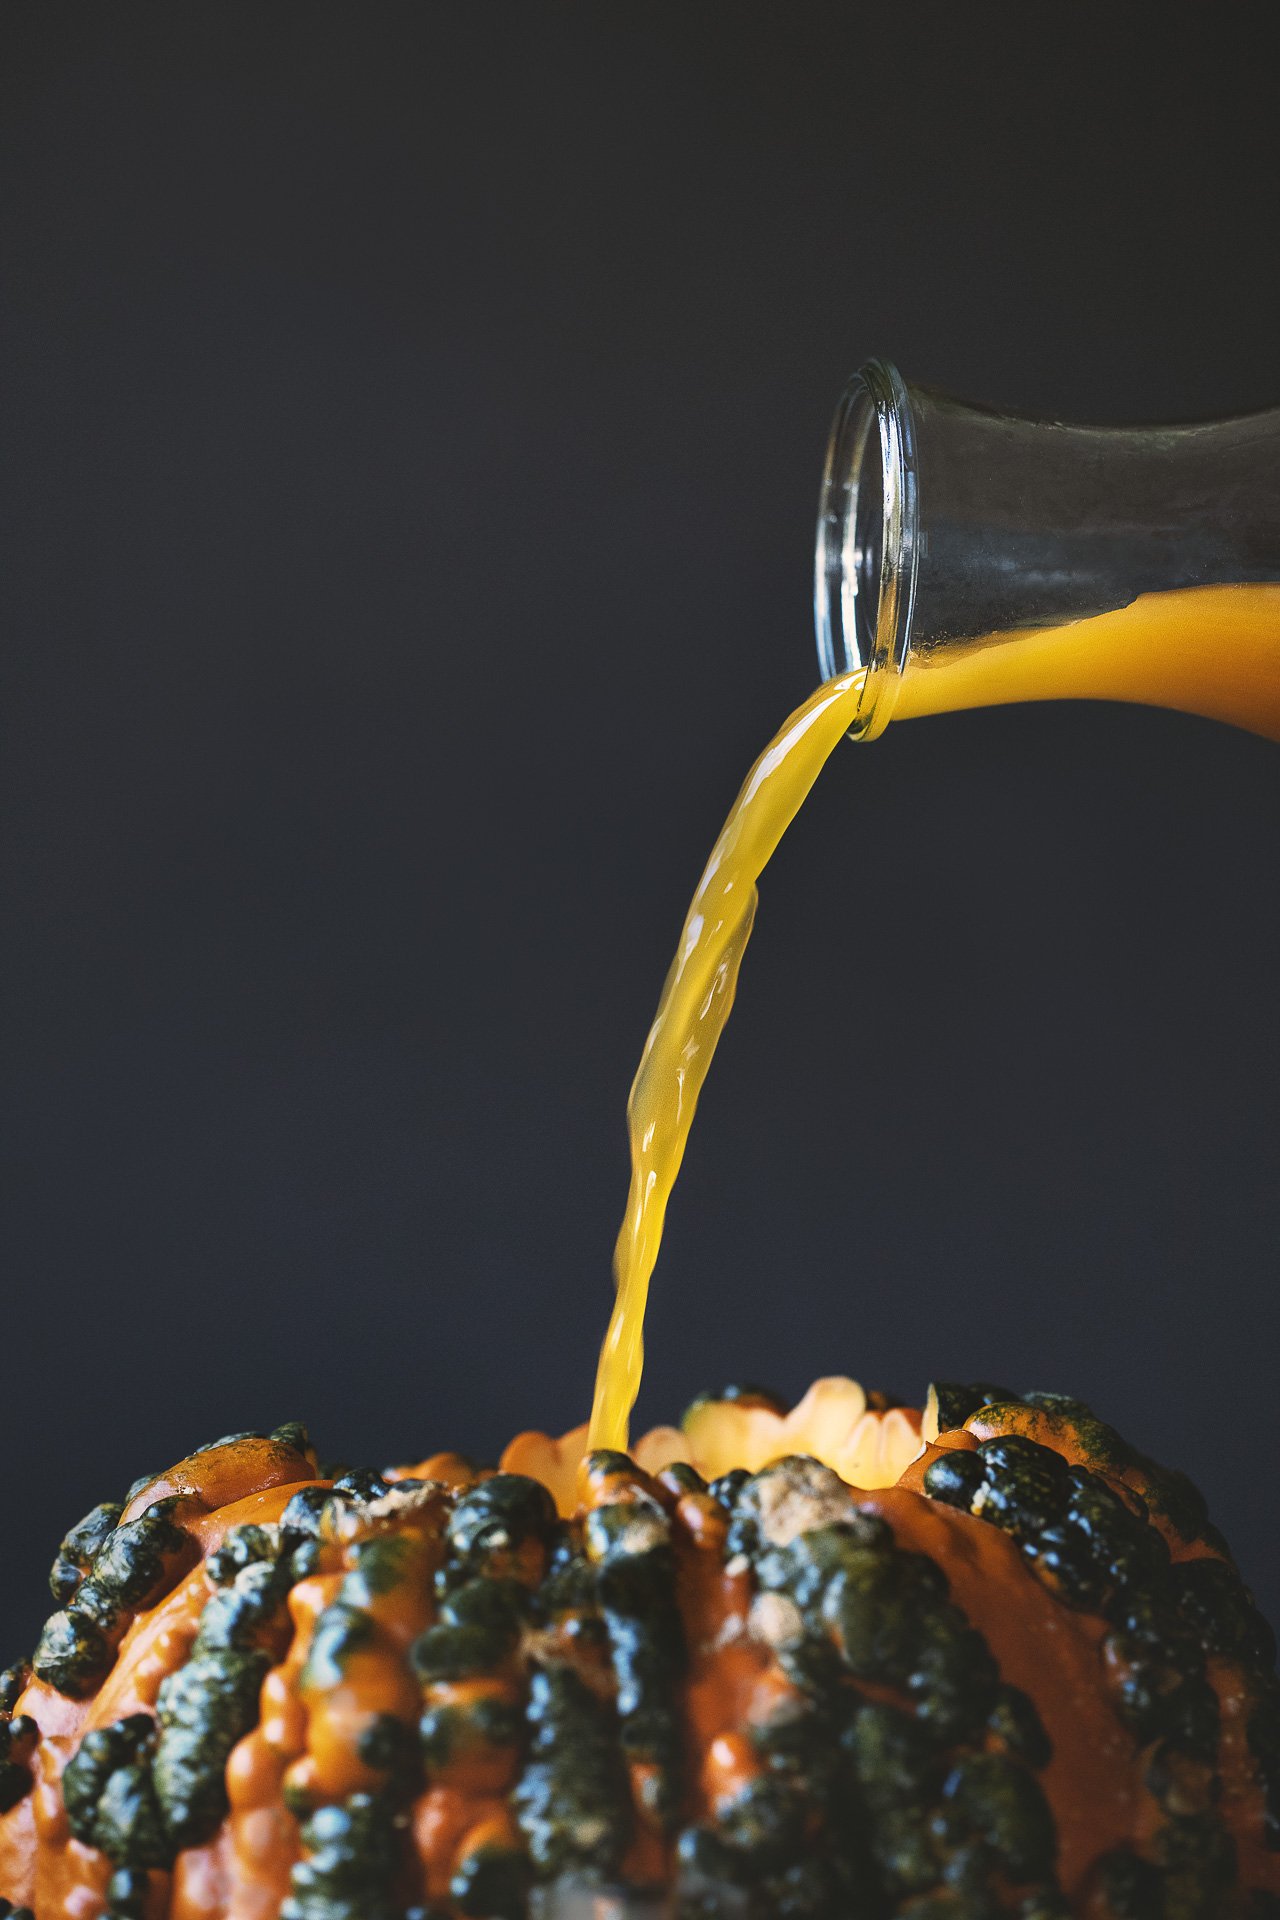
If filling with a cocktail (like a punch) feel free to add a large ice block inside your pumpkin for chilling, just as you normally would inside a punch bowl. Also, if you’re filling with a homemade cocktail, give it an occasional stir (through the opening at the top), as natural separation is likely to occur.
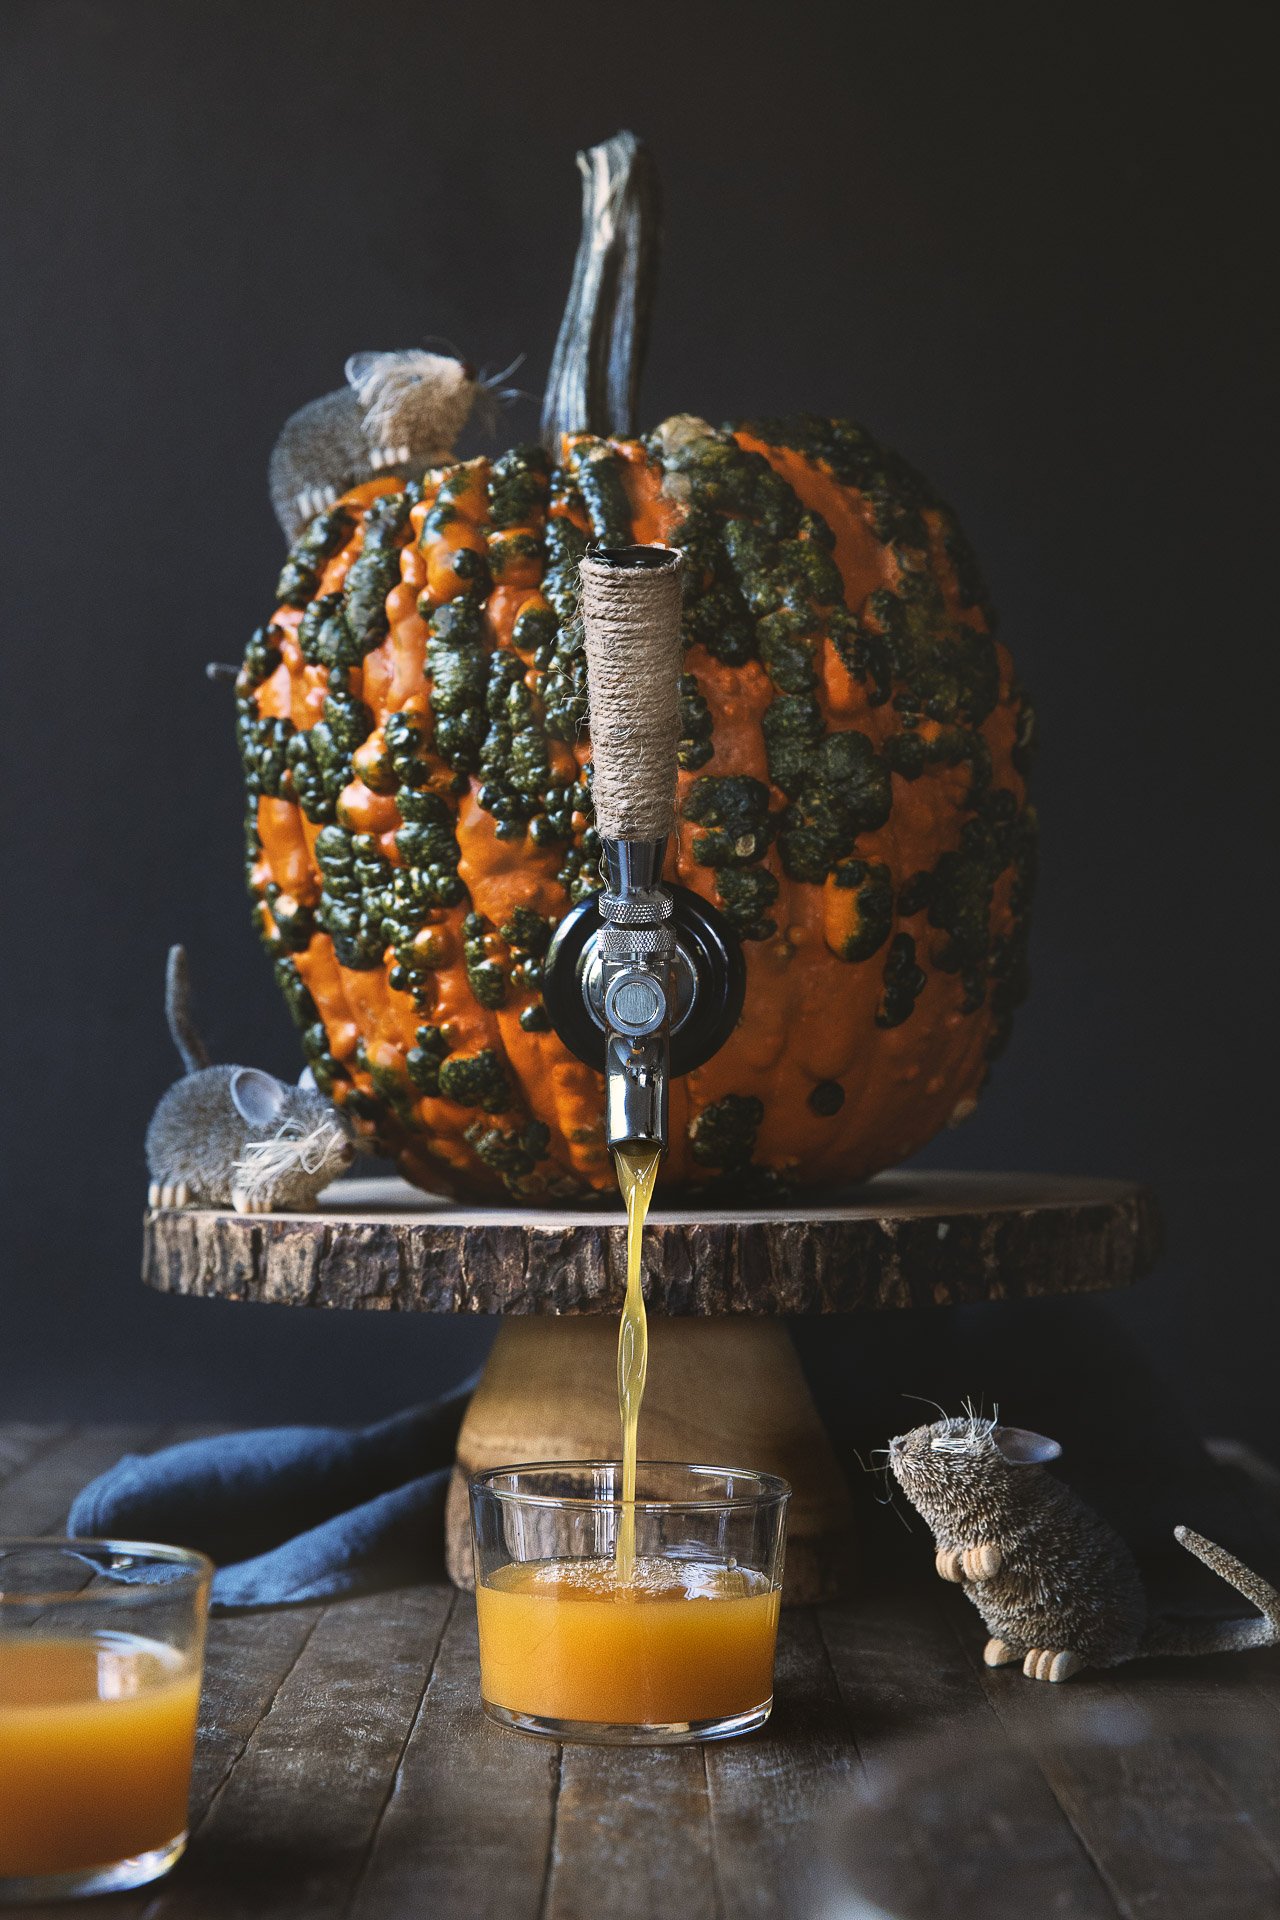
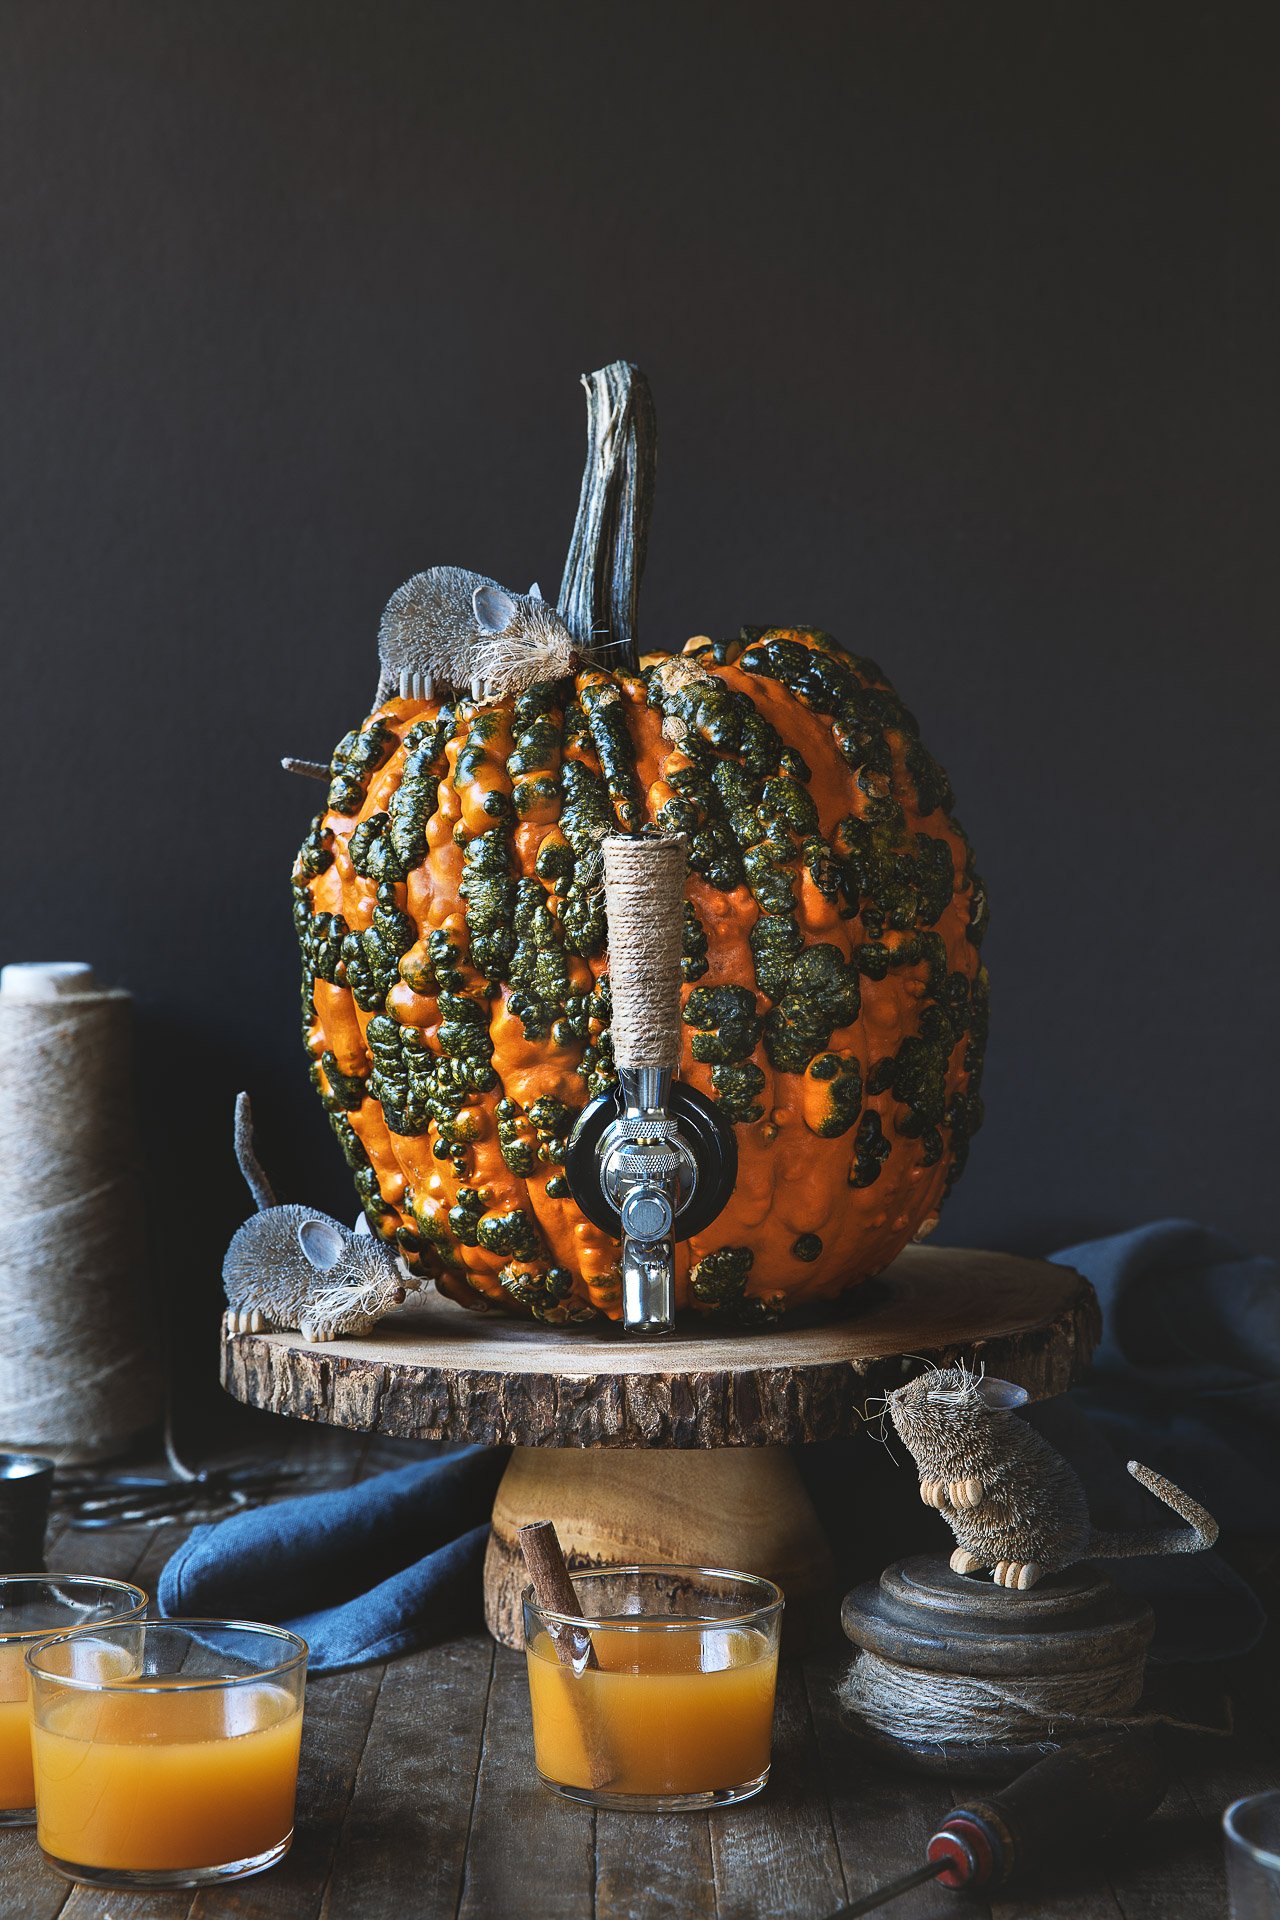
(Photography by HonestlyYUM. Pumpkin Tap Kit from Kegworks.)

Such a creative and festive idea! I love how the pumpkin keg adds a unique twist to fall celebrations. Your step-by-step guide makes it look so easy and fun to try. This is definitely going to be a hit at any Halloween party! Thanks for sharing this inspiring DIY project.