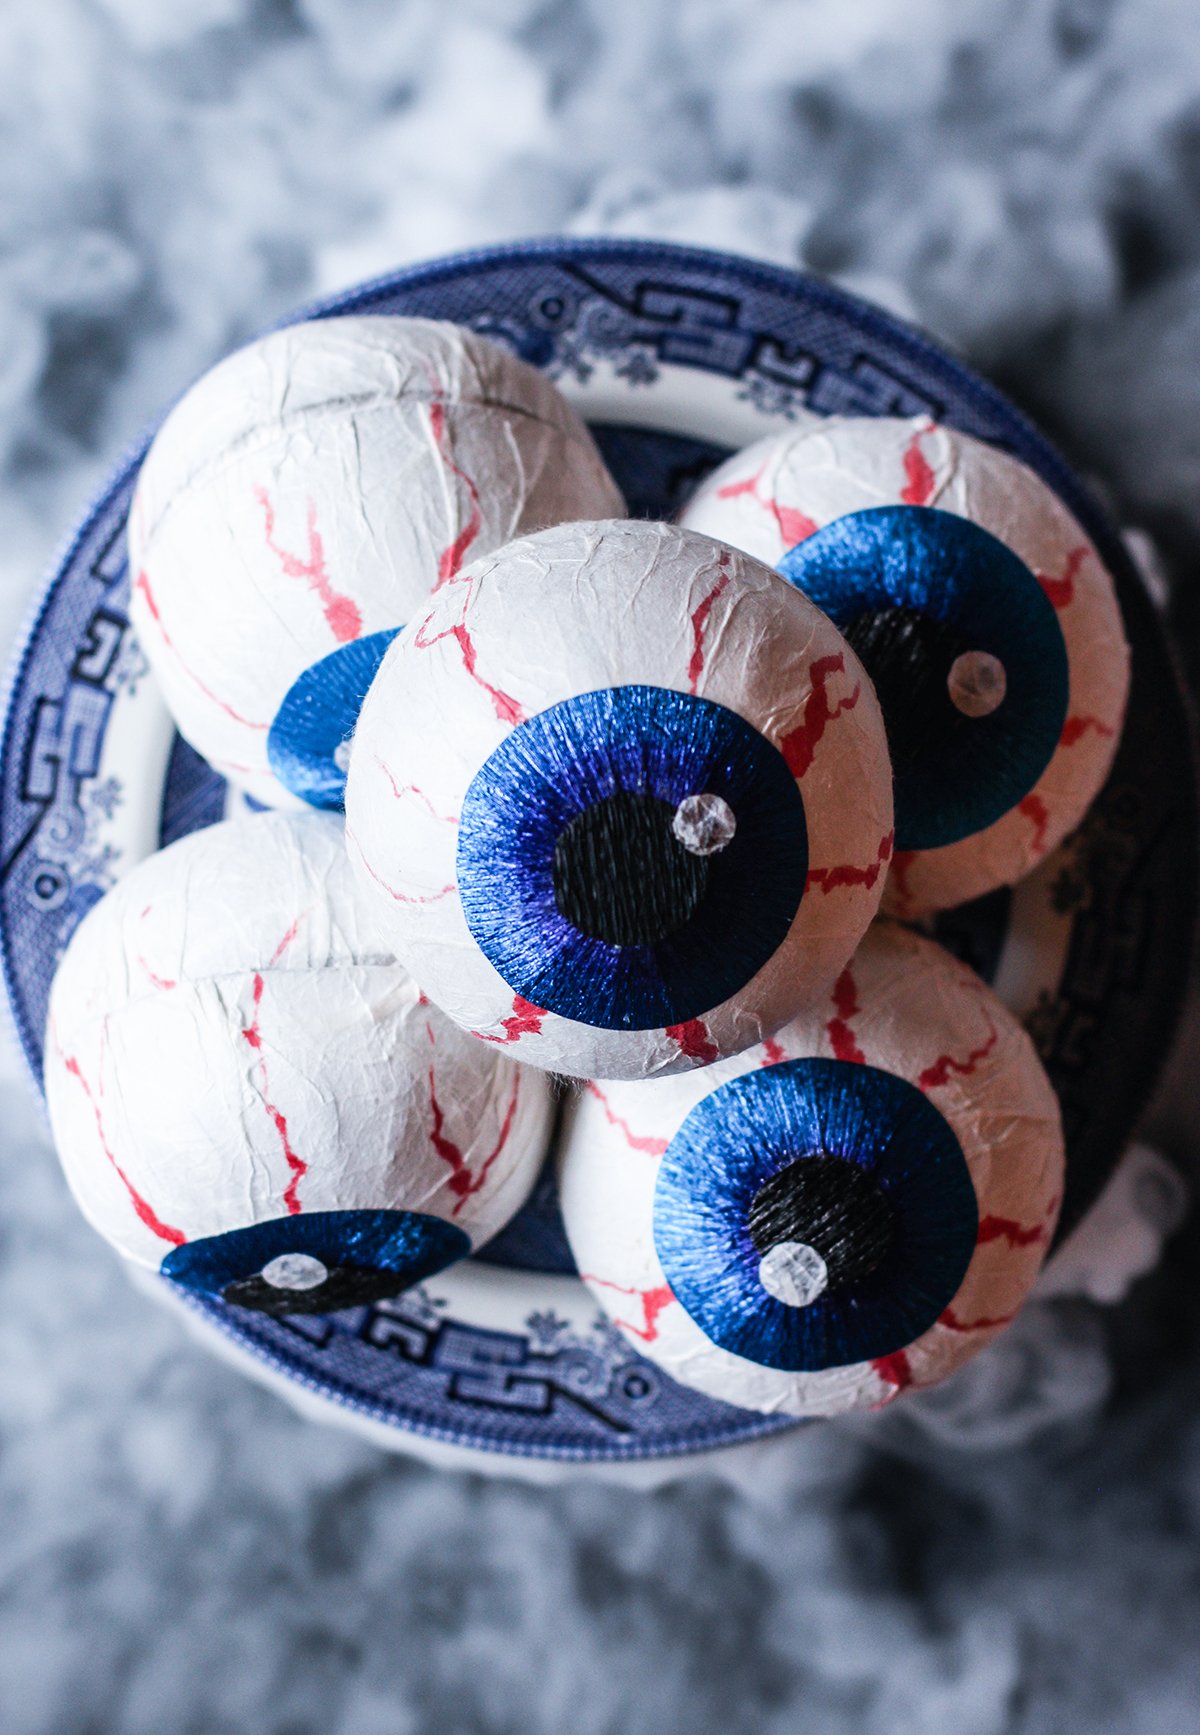
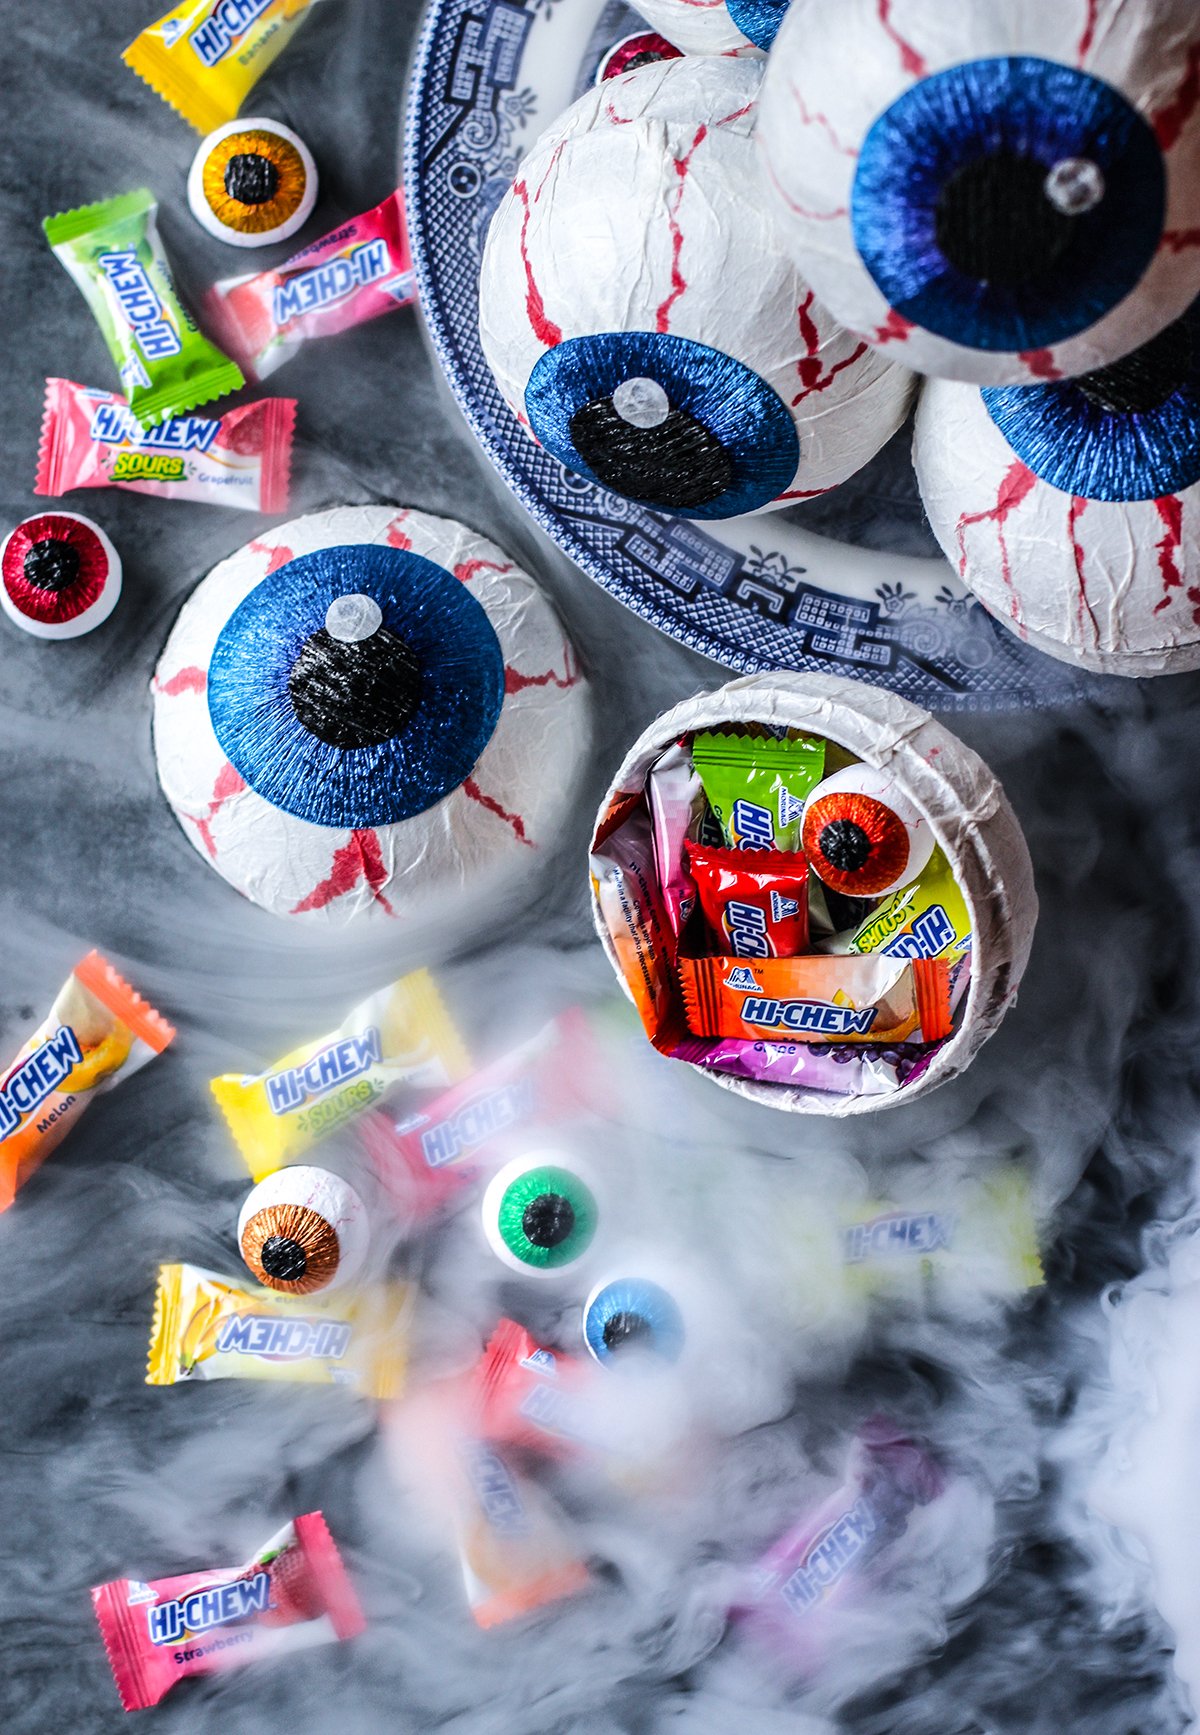
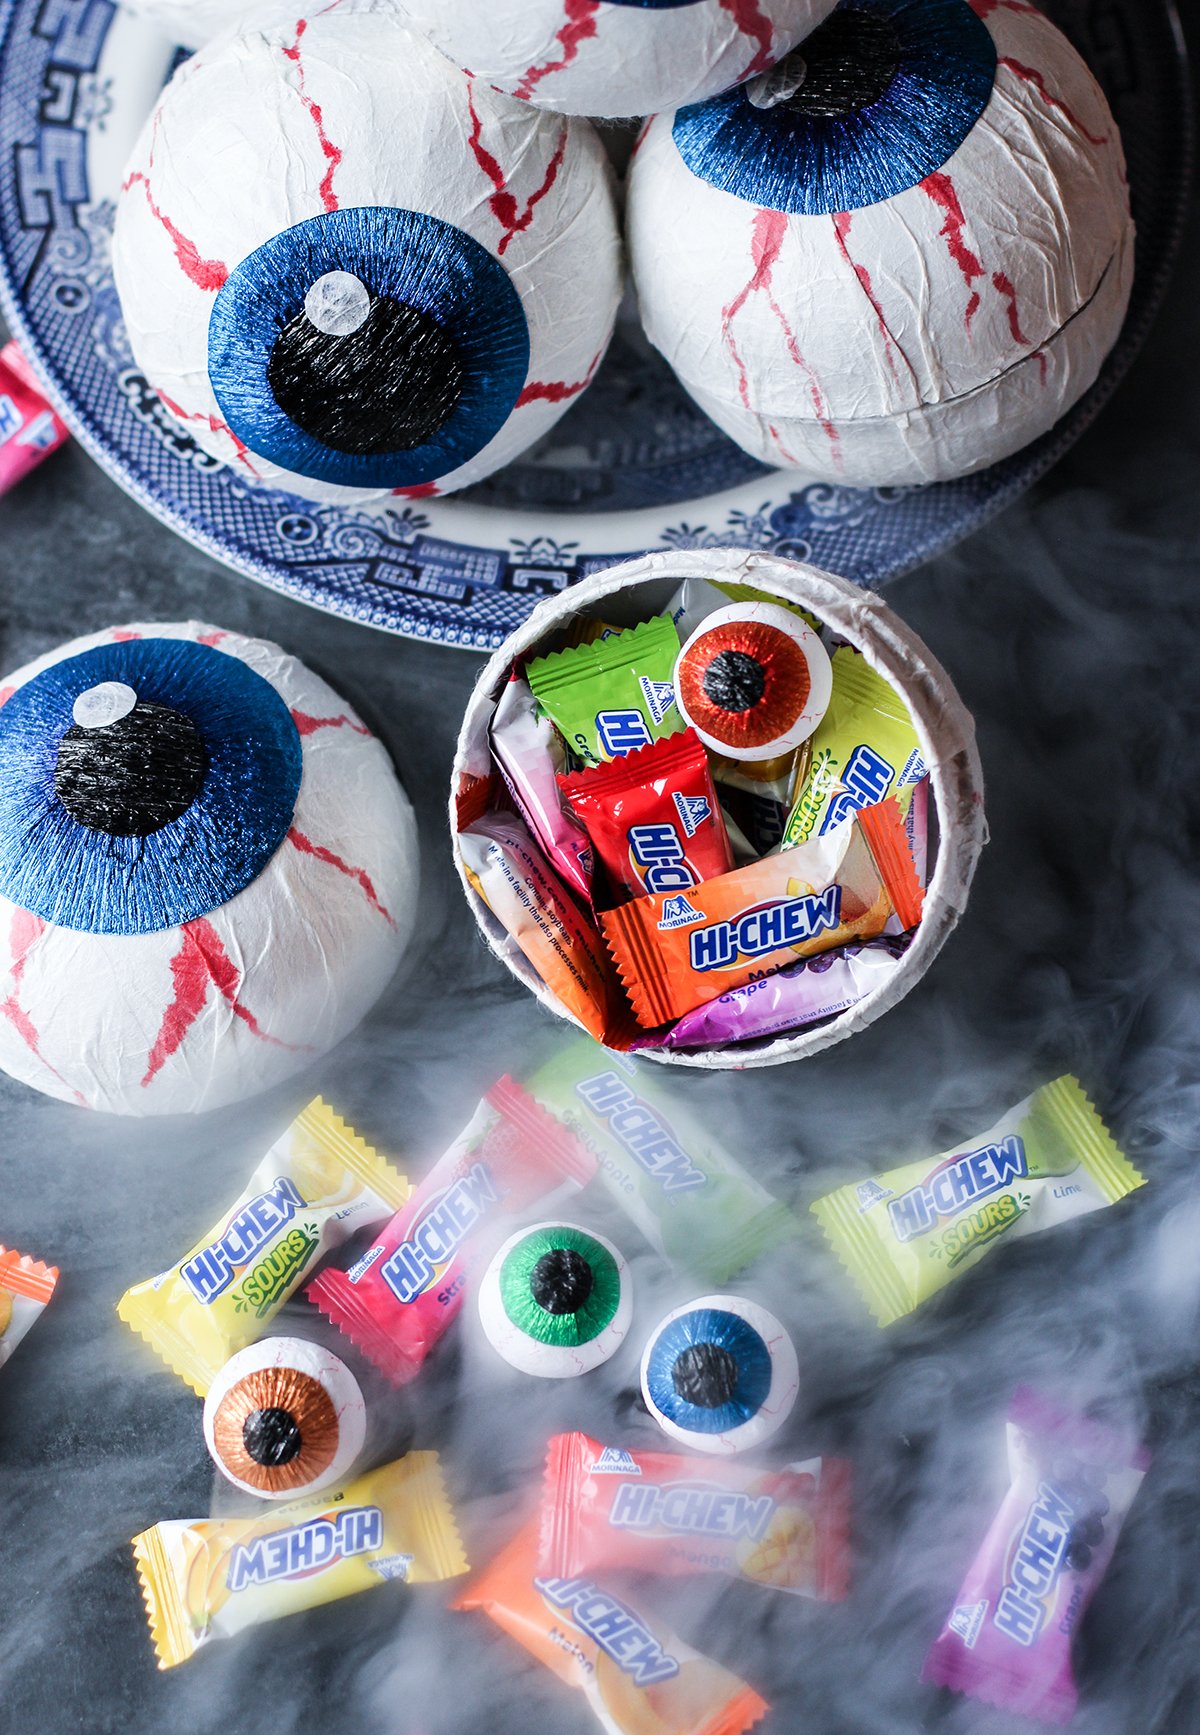
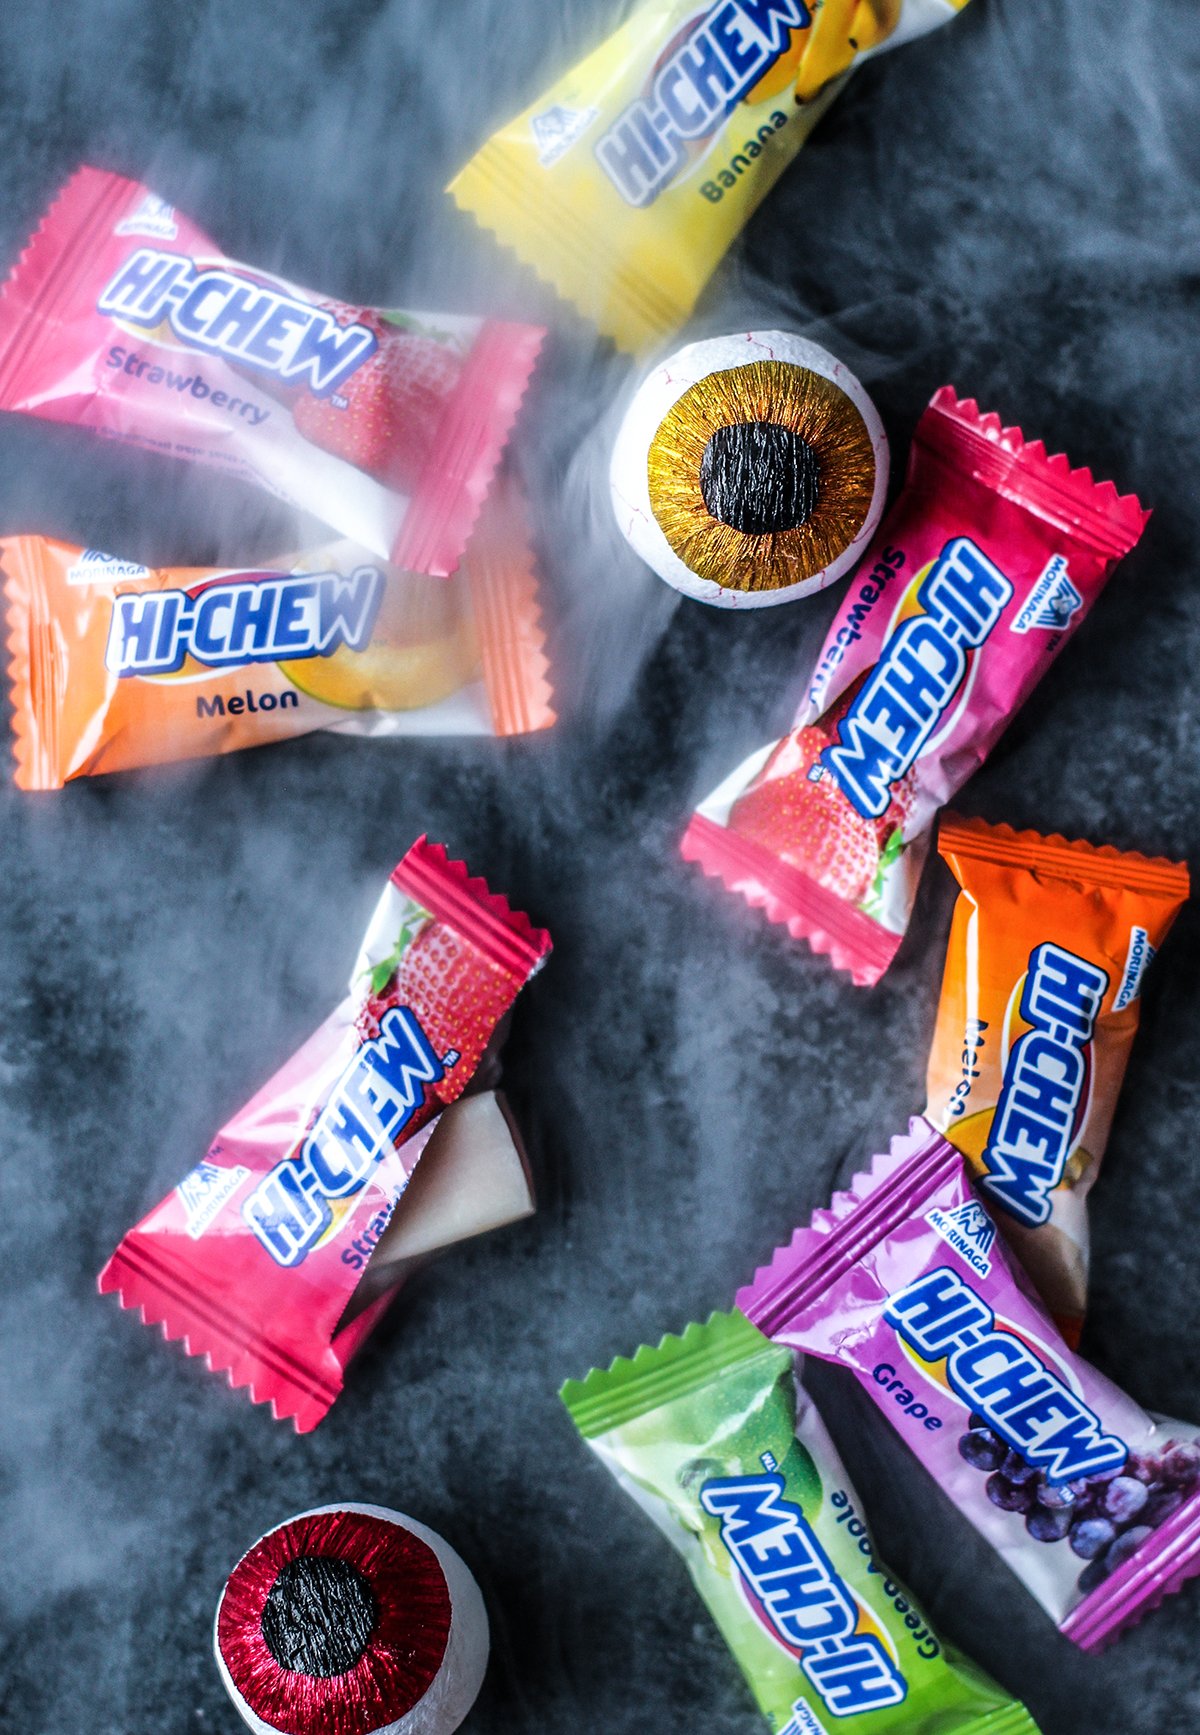
Everyone knows that the best part about trick-or-treating on Halloween is coming home to pick the best assortment of treats from your plastic pumpkin. And if your parents were like mine, you were also only allowed to keep a small, yet reasonable, amount of candy from your hard earned loot. Clearly, Halloween candy is meant to be taken seriously, which is why I’m always thinking of fun and unique ways to make the holiday extra special for kids – and adults. This year, I’m super excited to be giving out these spooky paper maché eyeball boxes, filled with an assortment of my all time favorite candy HI-CHEW! I only wish I could see the kids’ reactions as they open their boxes to reveal a handful of the fruitiest and chewiest candy, in some of my most preferred flavors like mango, strawberry and melon. #Winning.
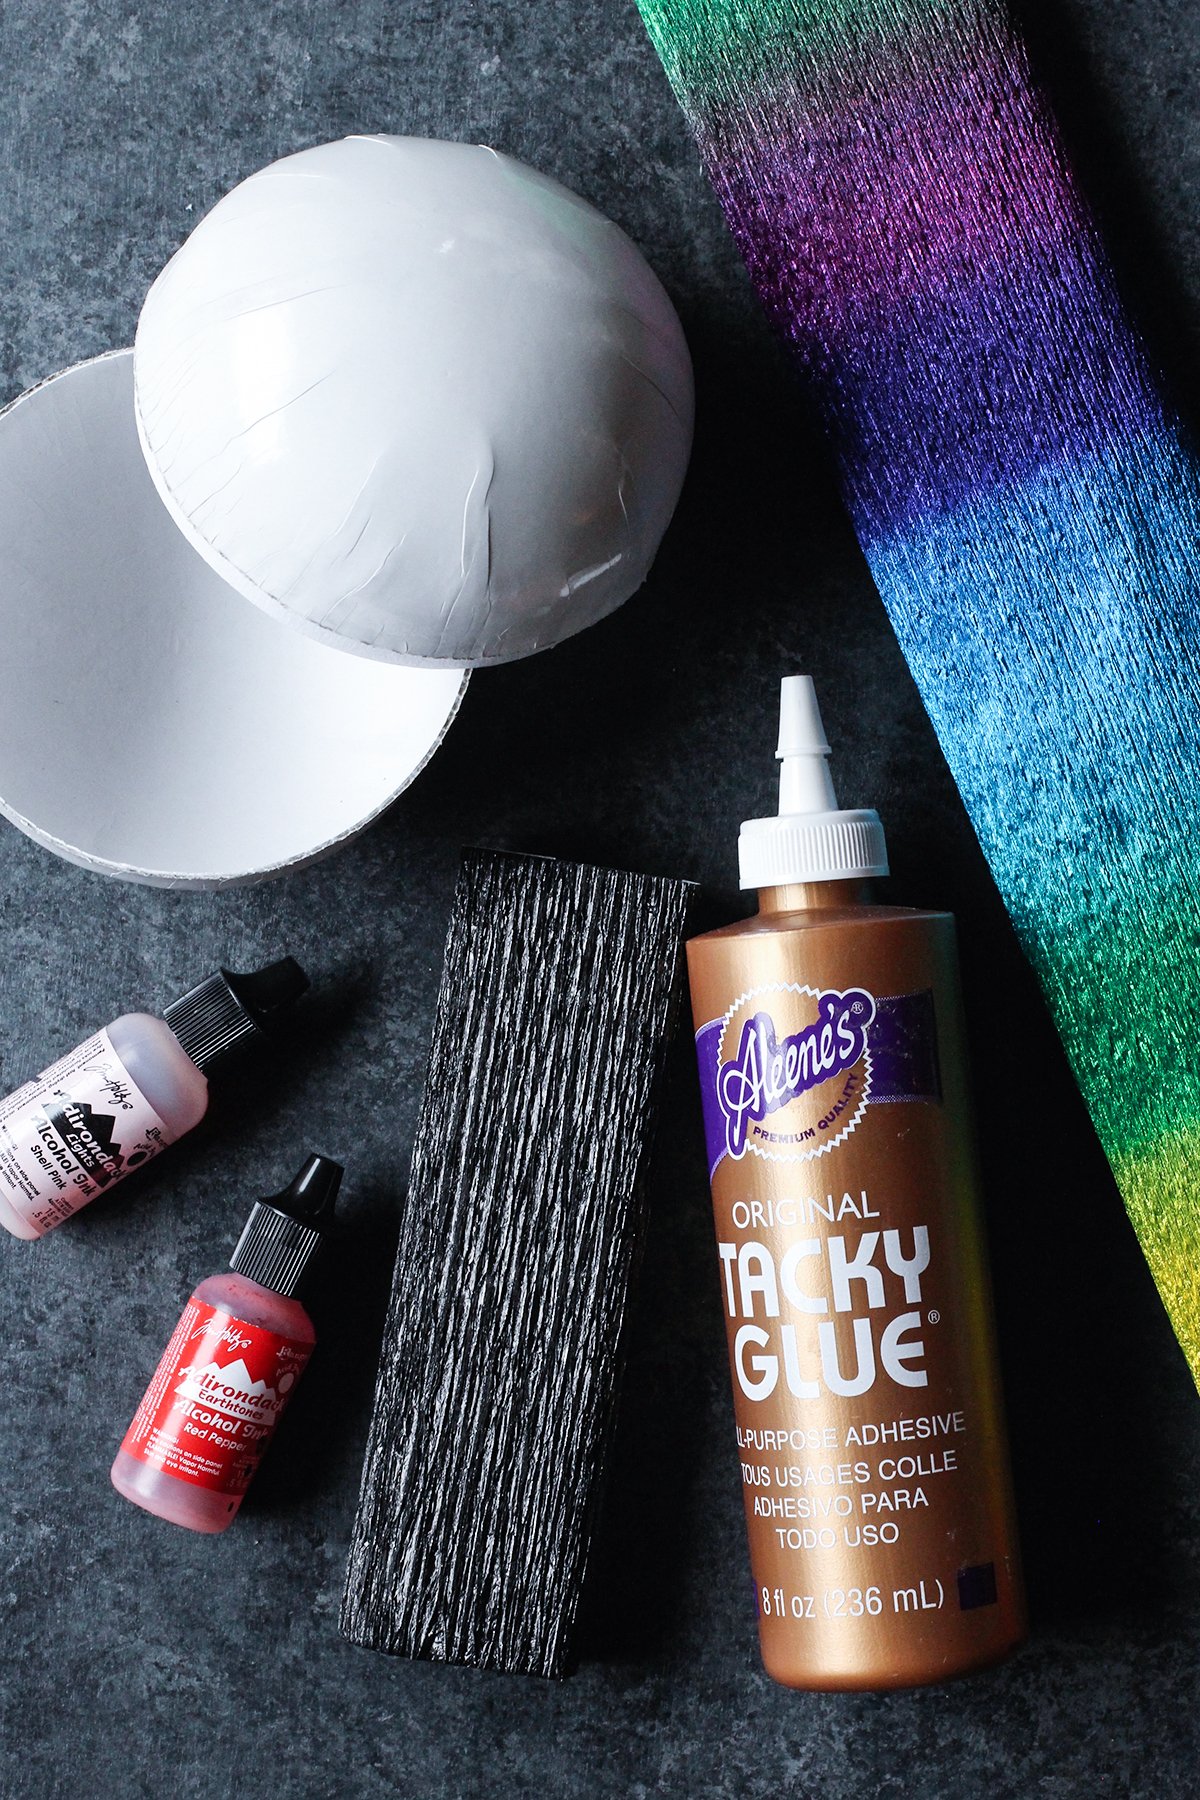
You’ll need:
- a 4″ paper maché round ball
- metallic rainbow crepe paper
- metallic black crepe paper
- Japanese mulberry paper or any white, fibrous paper
- alcohol ink (red pepper and/or salmon)
- Tacky Glue
- scissors
- ruler
- candy
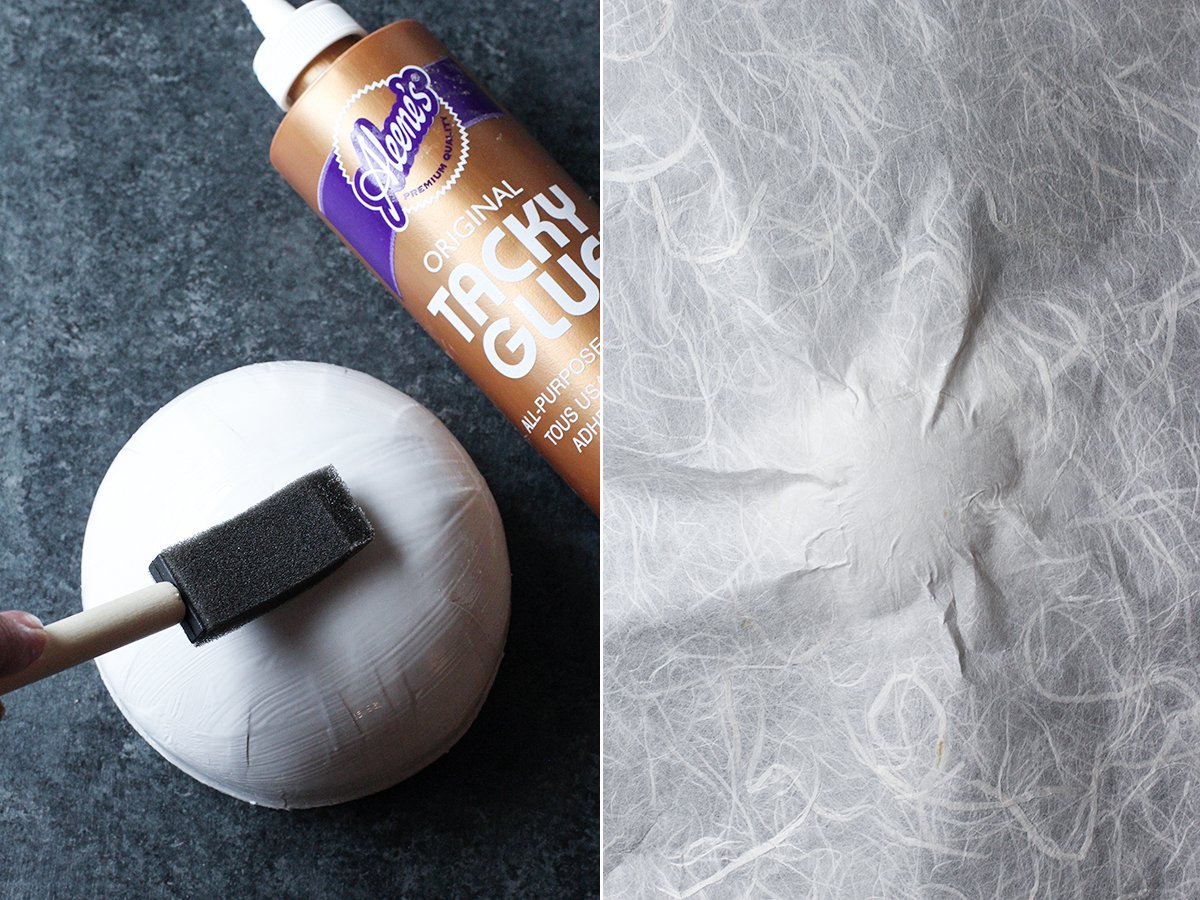
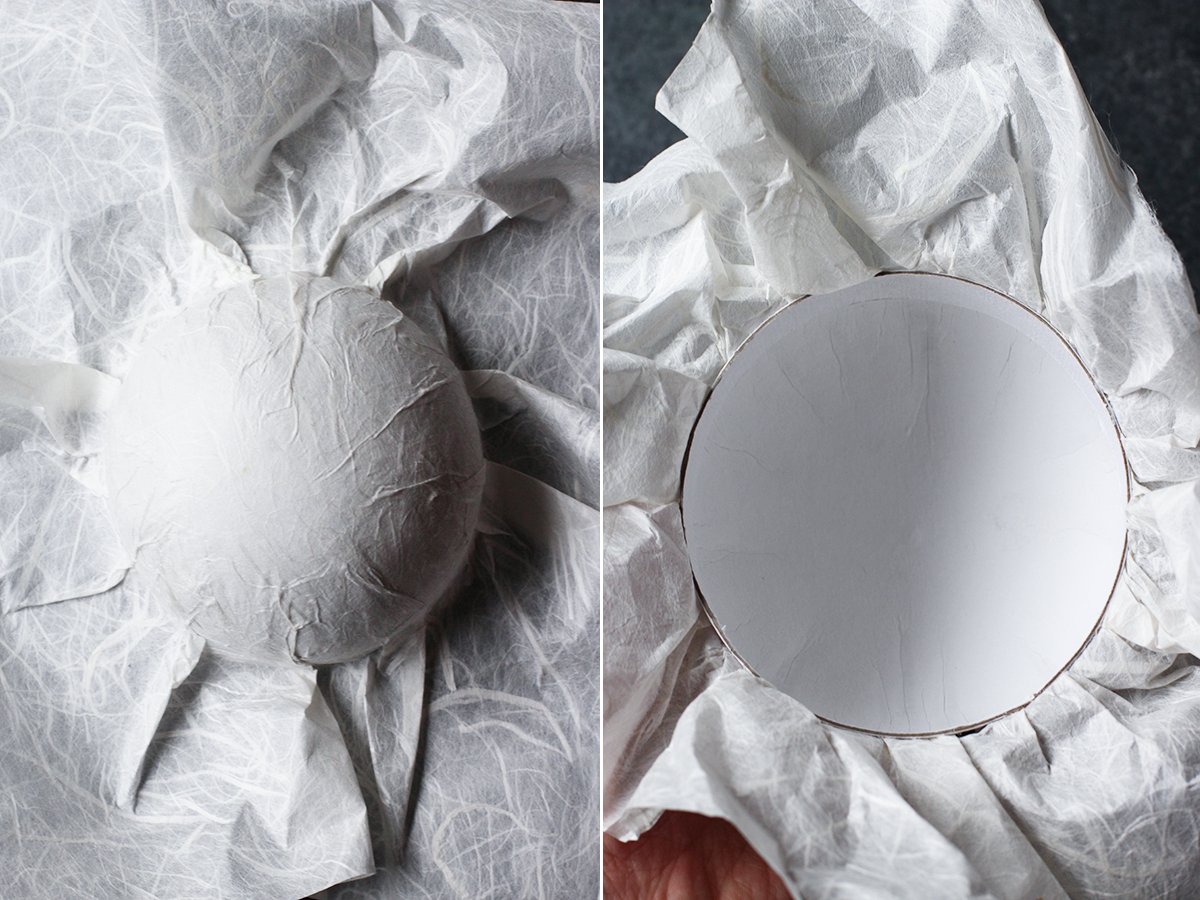
Open the paper maché ball into its two parts. Cover one half of the ball with a very thin coat of Tacky Glue. Place a piece of Mulberry paper, or any other fibrous paper, over it.
Smooth the paper over the half sphere – little wrinkles here and there are okay but try and spread the paper out as smoothly as possible.
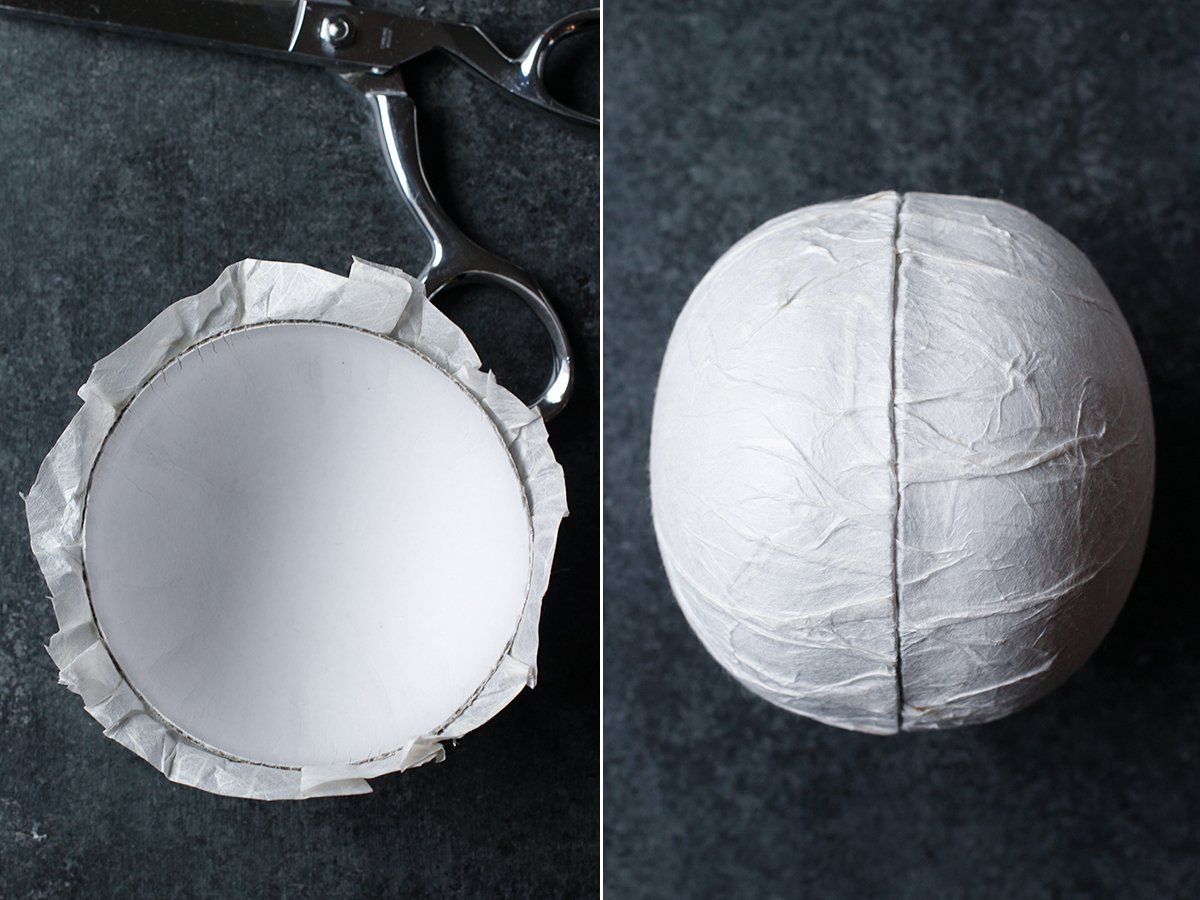
Trim the paper leaving a 1/4″. Glue the excess paper along the diameter of the inside of the ball. And allow to dry. Repeat on the other half of the ball.
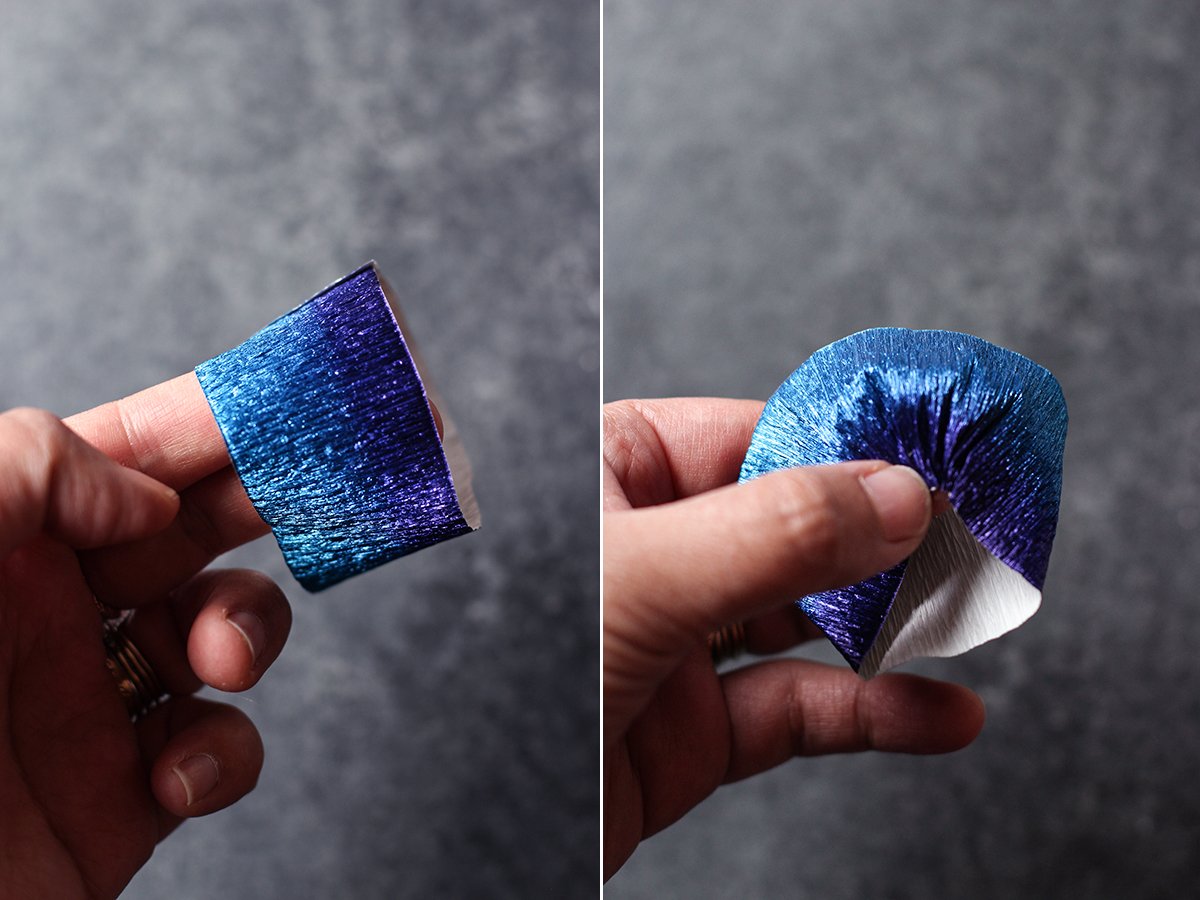
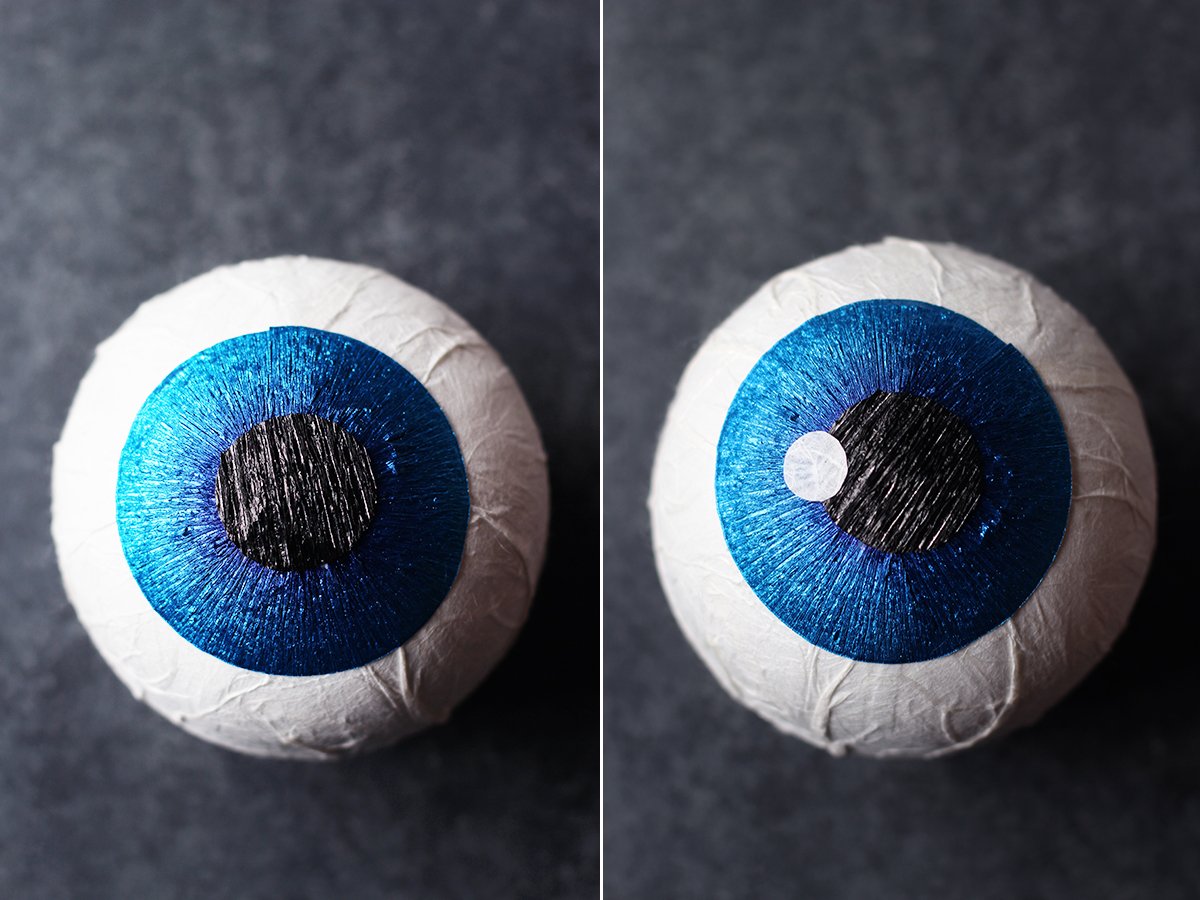
The rainbow crepe comes in a ombre of colors, which means you can easily choose the color of your eyeball iris. Cut a 2″ x 7″ strip across the grain of a section of the rainbow crepe paper. Glue the strip into a ring and allow to dry. Pleat the inside of the ring, pinching and gathering it towards the center until you end up with a flat circle. You can even place it on a flat surface and flatten it with the palm of your hand.
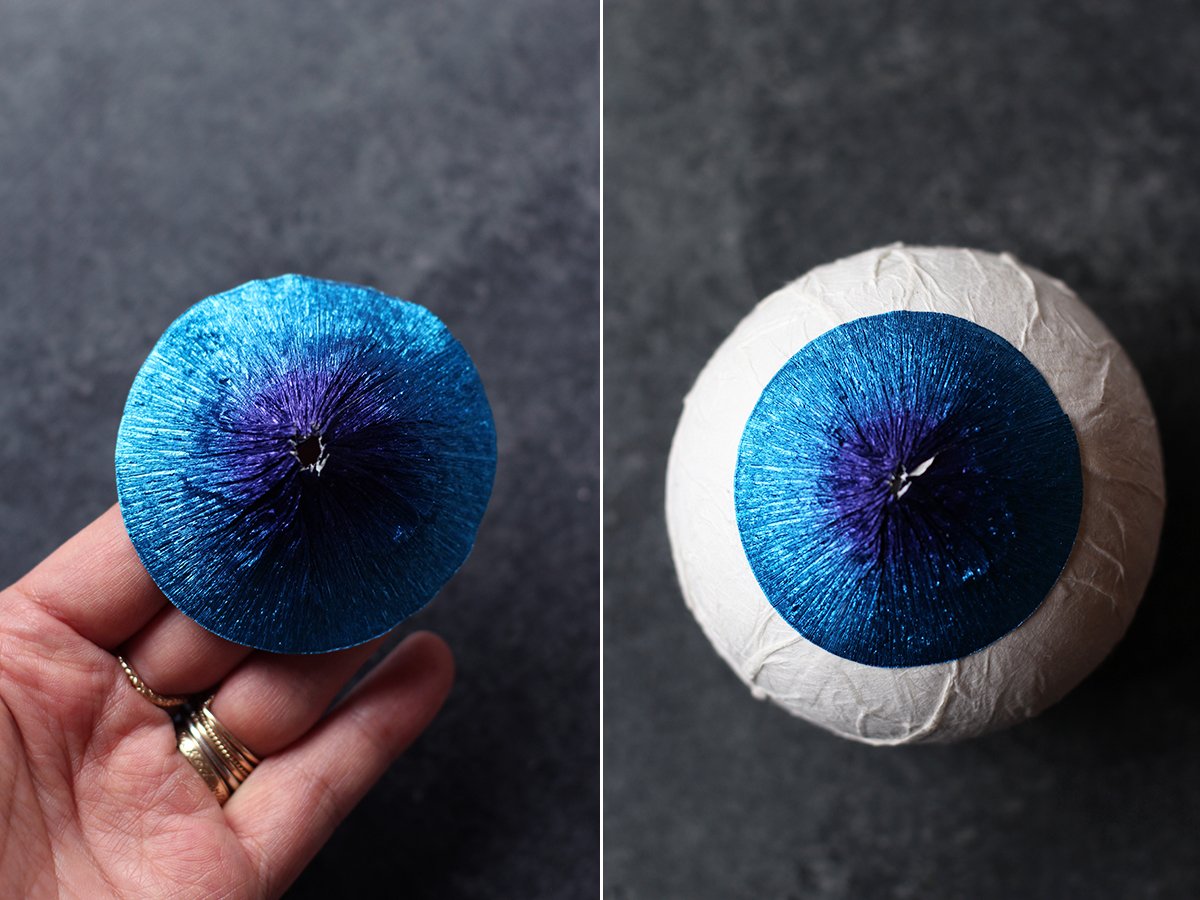
Glue this piece to the top of the ball.
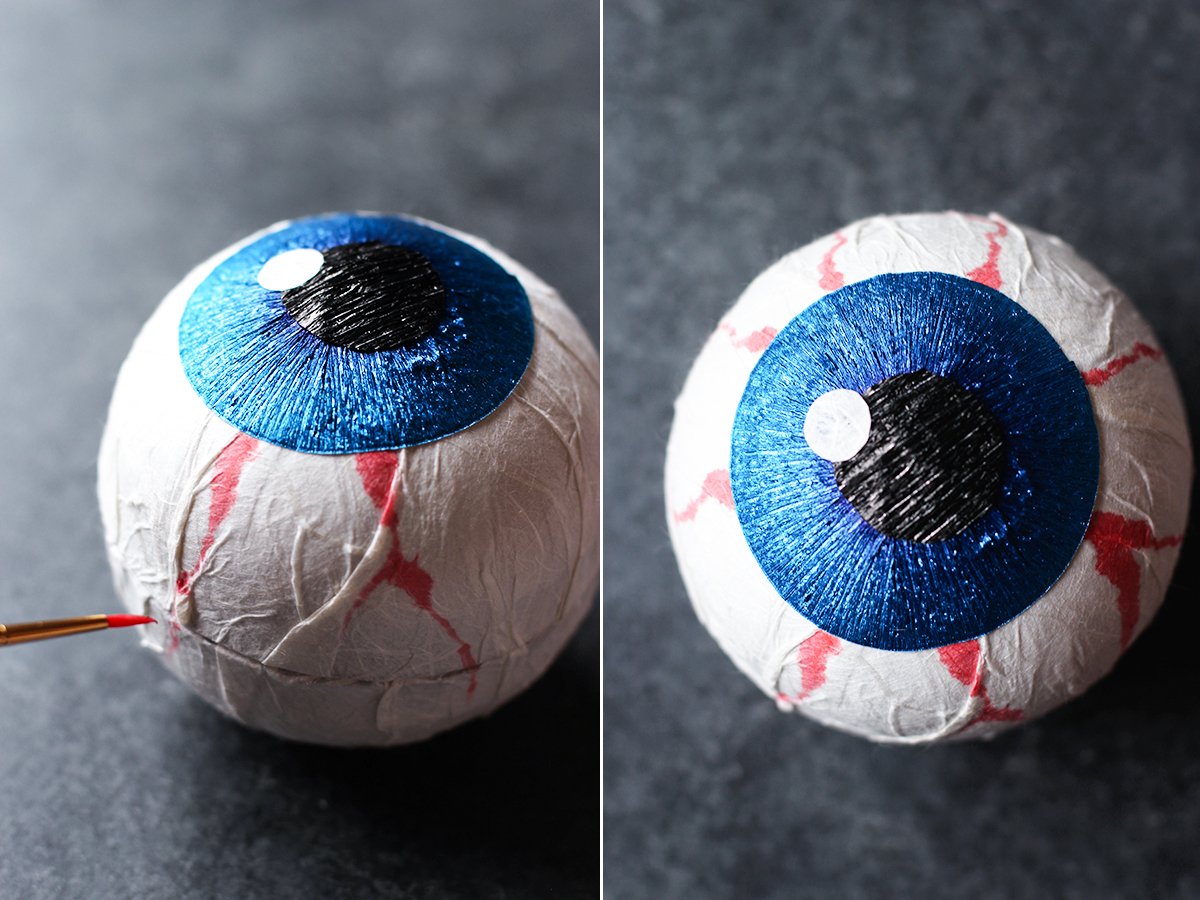
Cut a 1″ circle from black metallic crepe paper and glue it to the center of the iris. Then cut a tiny circle from the scraps of the white paper and add it to eye.
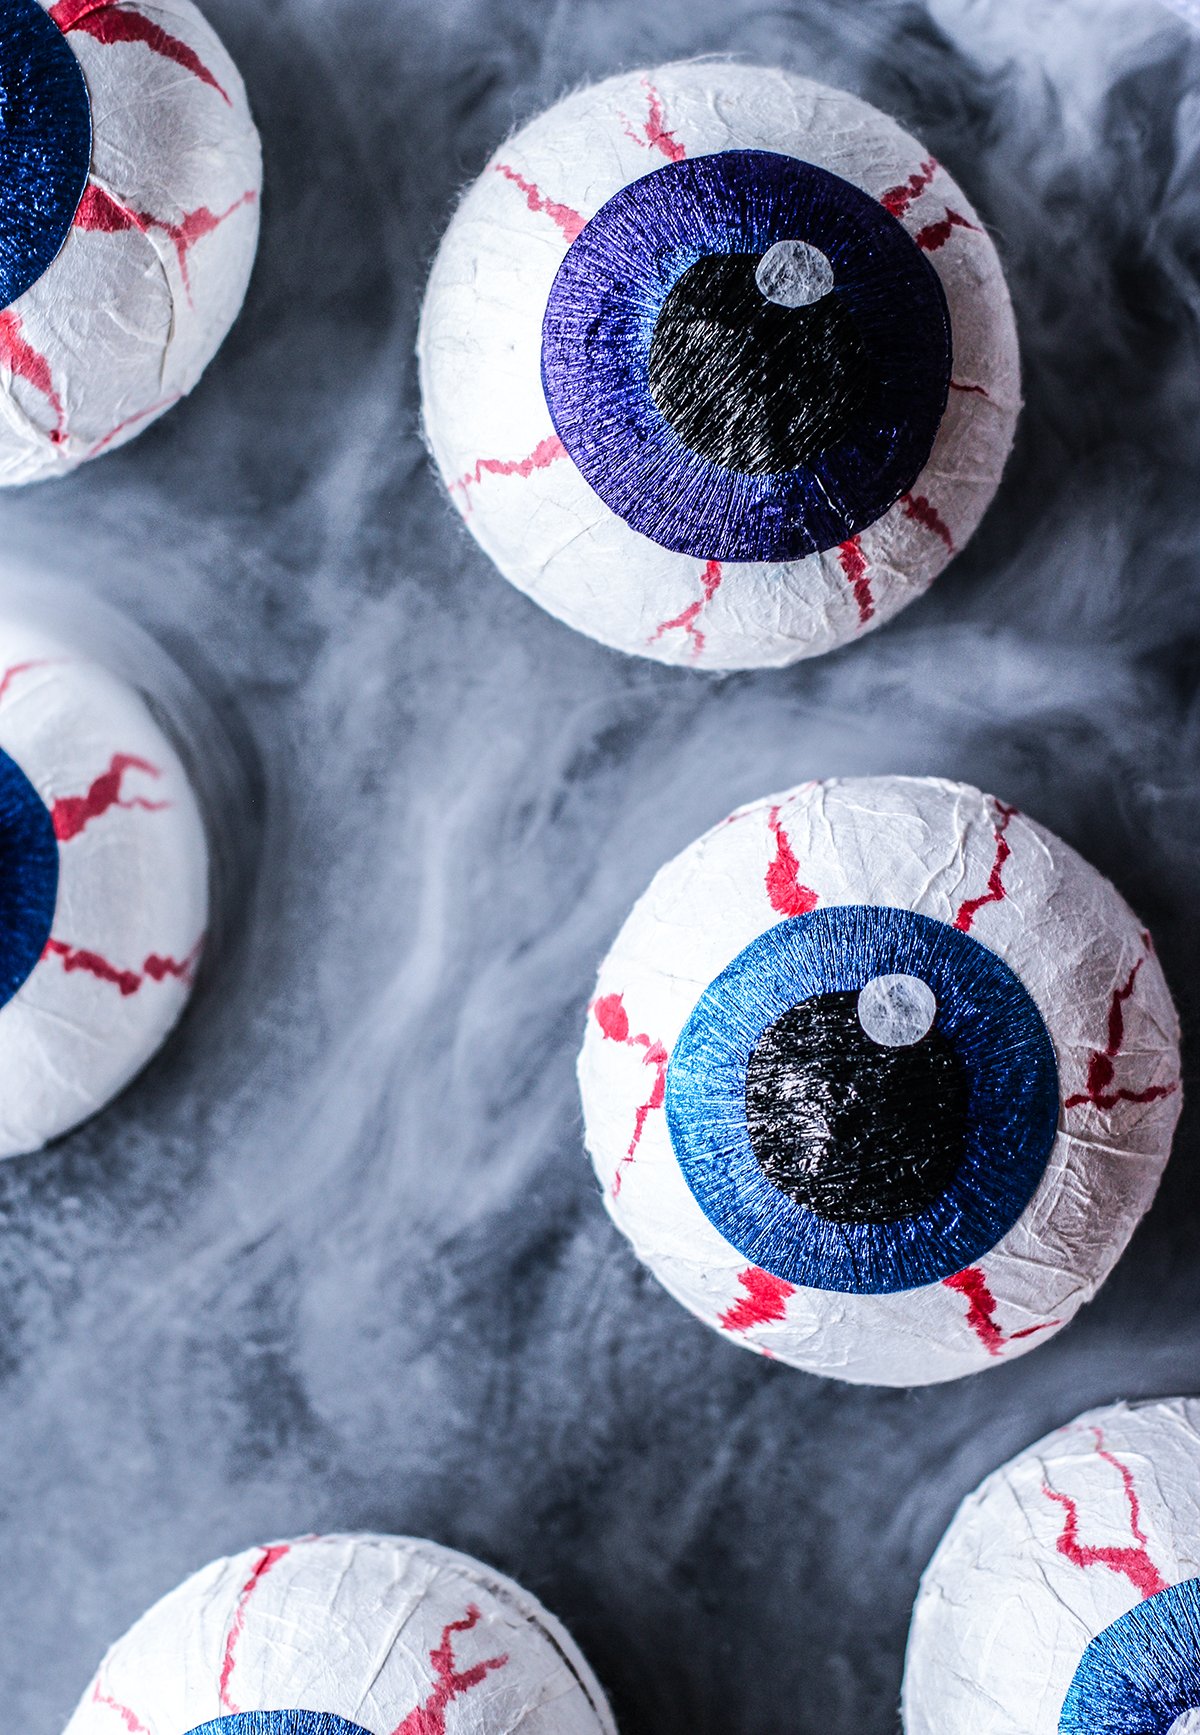
Take a very thin paintbrush and dip it into red alcohol ink. Run the brush down the sides of the eye, from the iris, and allow the ink to bleed naturally into the whites of the eye.
Fill with your favorite flavors of Hi-Chew!
(Images by HonestlyYUM. Thank you to Castle In The Air for the tutorial. This post is sponsored by HI-CHEW and opinions are our own. Thank you for supporting the brands that keep HonestlyYUM up and running!)

These are seriously cute and creative!! Yup, I was only allowed to have a reasonable amount of candy as well haha. At the time I thought my parents were the meanest. It was probably for the best, though! 😉
These are amazing!! Definitely one of my favorite Halloween DIY projects this year!!!
such a neat idea!! love it!