I have a love/hate relationship with Valentine’s Day and all instances of commercialized love for that matter (which is ironic considering I’m in the midst of planning my own wedding!). Part of me thinks the pressure of having to do a fancy dinner, chocolates, flowers and champagne is such a scam (okay, maybe not the champagne part) and the other part of me really appreciates the idea of celebrating love and spending quality time with your loved one. And then a small part of me just loves cute heart-shaped things, like these conversation cookies! These are not only deliciously buttery but so cute. If you’re someone who is planning on celebrating Valentine’s Day but wanting to give your loved one a meaningful and original gift, these shortbread conversation cookies are it. Get creative with these and make a love message of your own!

CONVERSATION SHORTBREAD COOKIES
Shortbread ingredients:
- 2 cups all purpose flour
- 1 (2 sticks) cup of unsalted butter, softened
- 1 cup of powdered sugar
- 1 teaspoon of salt
Icing ingredients:
- 4 egg whites
- 3 lbs of powdered sugar, sifted
- 2 tsp lemon juice
- food coloring
- piping bag
- No.2 round piping tip
Shortbread directions:
- In a stand mixer fitted with the paddle attachment, cream the butter for a minute or two on high speed. Lower the speed and add the powdered sugar a little at a time. Turn the speed on medium high and beat until creamy and fully incorporated. Add salt and mix for a couple seconds.
- On low speed, add flour a little at a time and mix until combined. The dough will look crumbly but should come together when you press the dough into a ball.
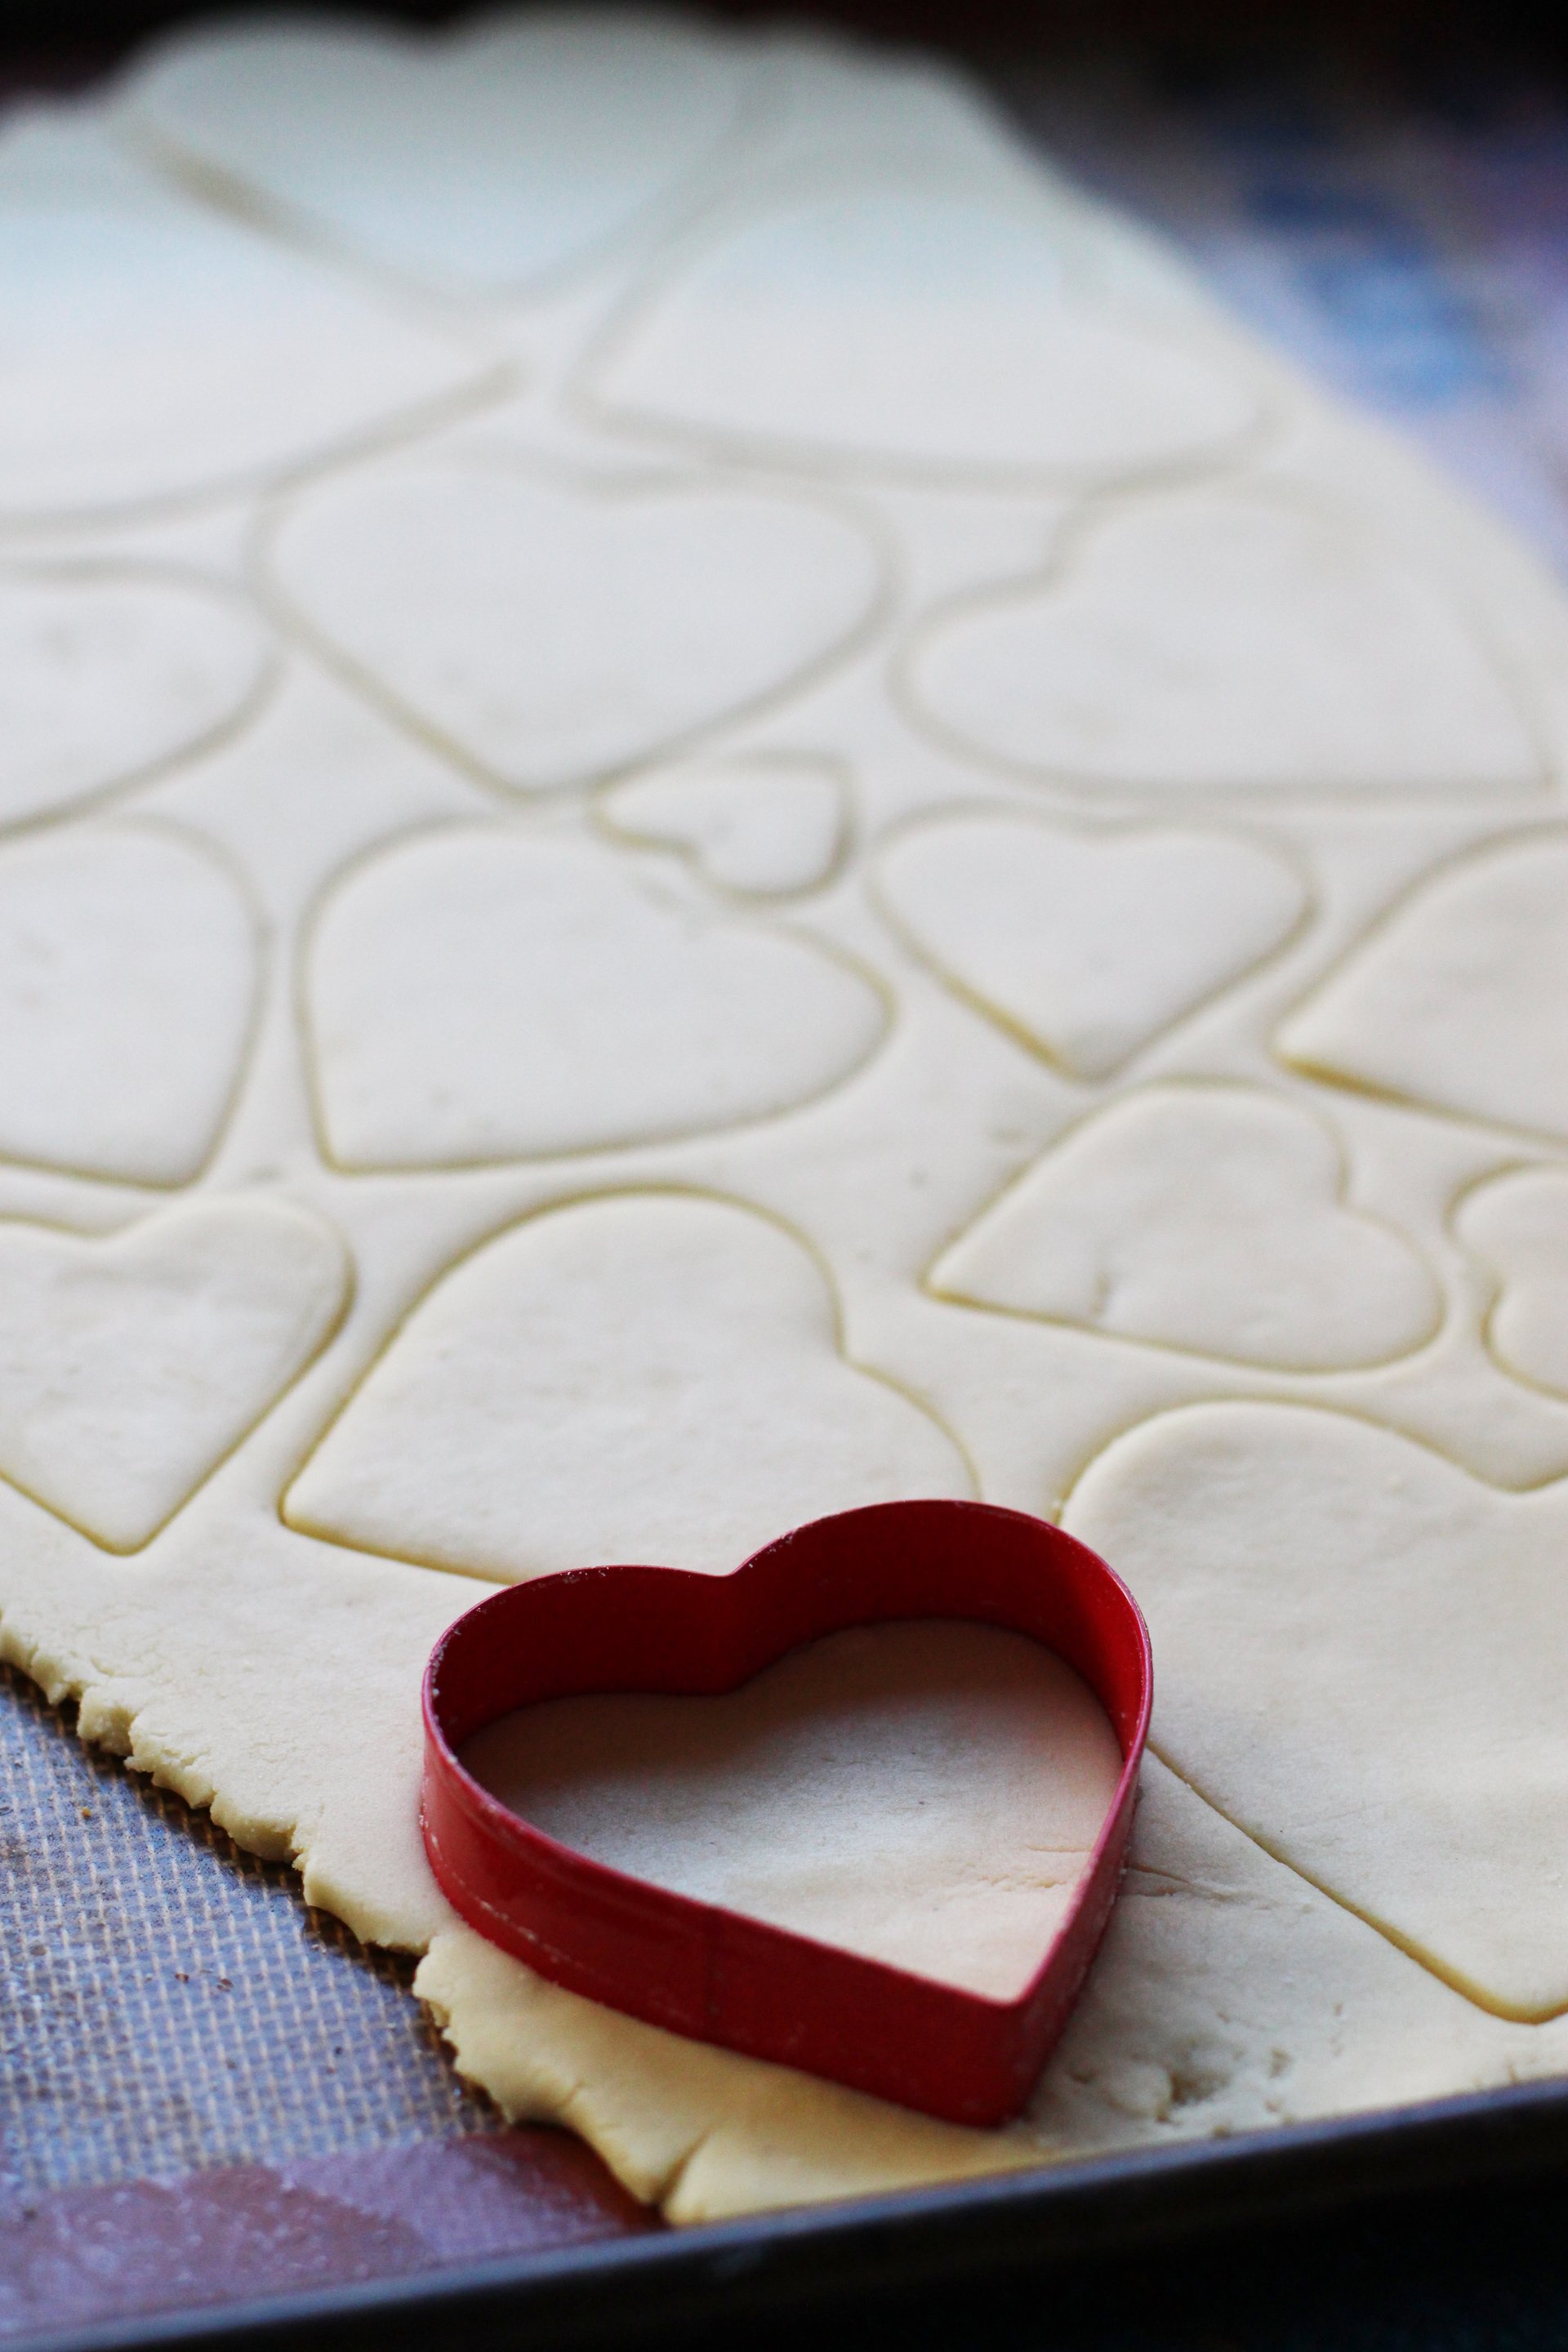
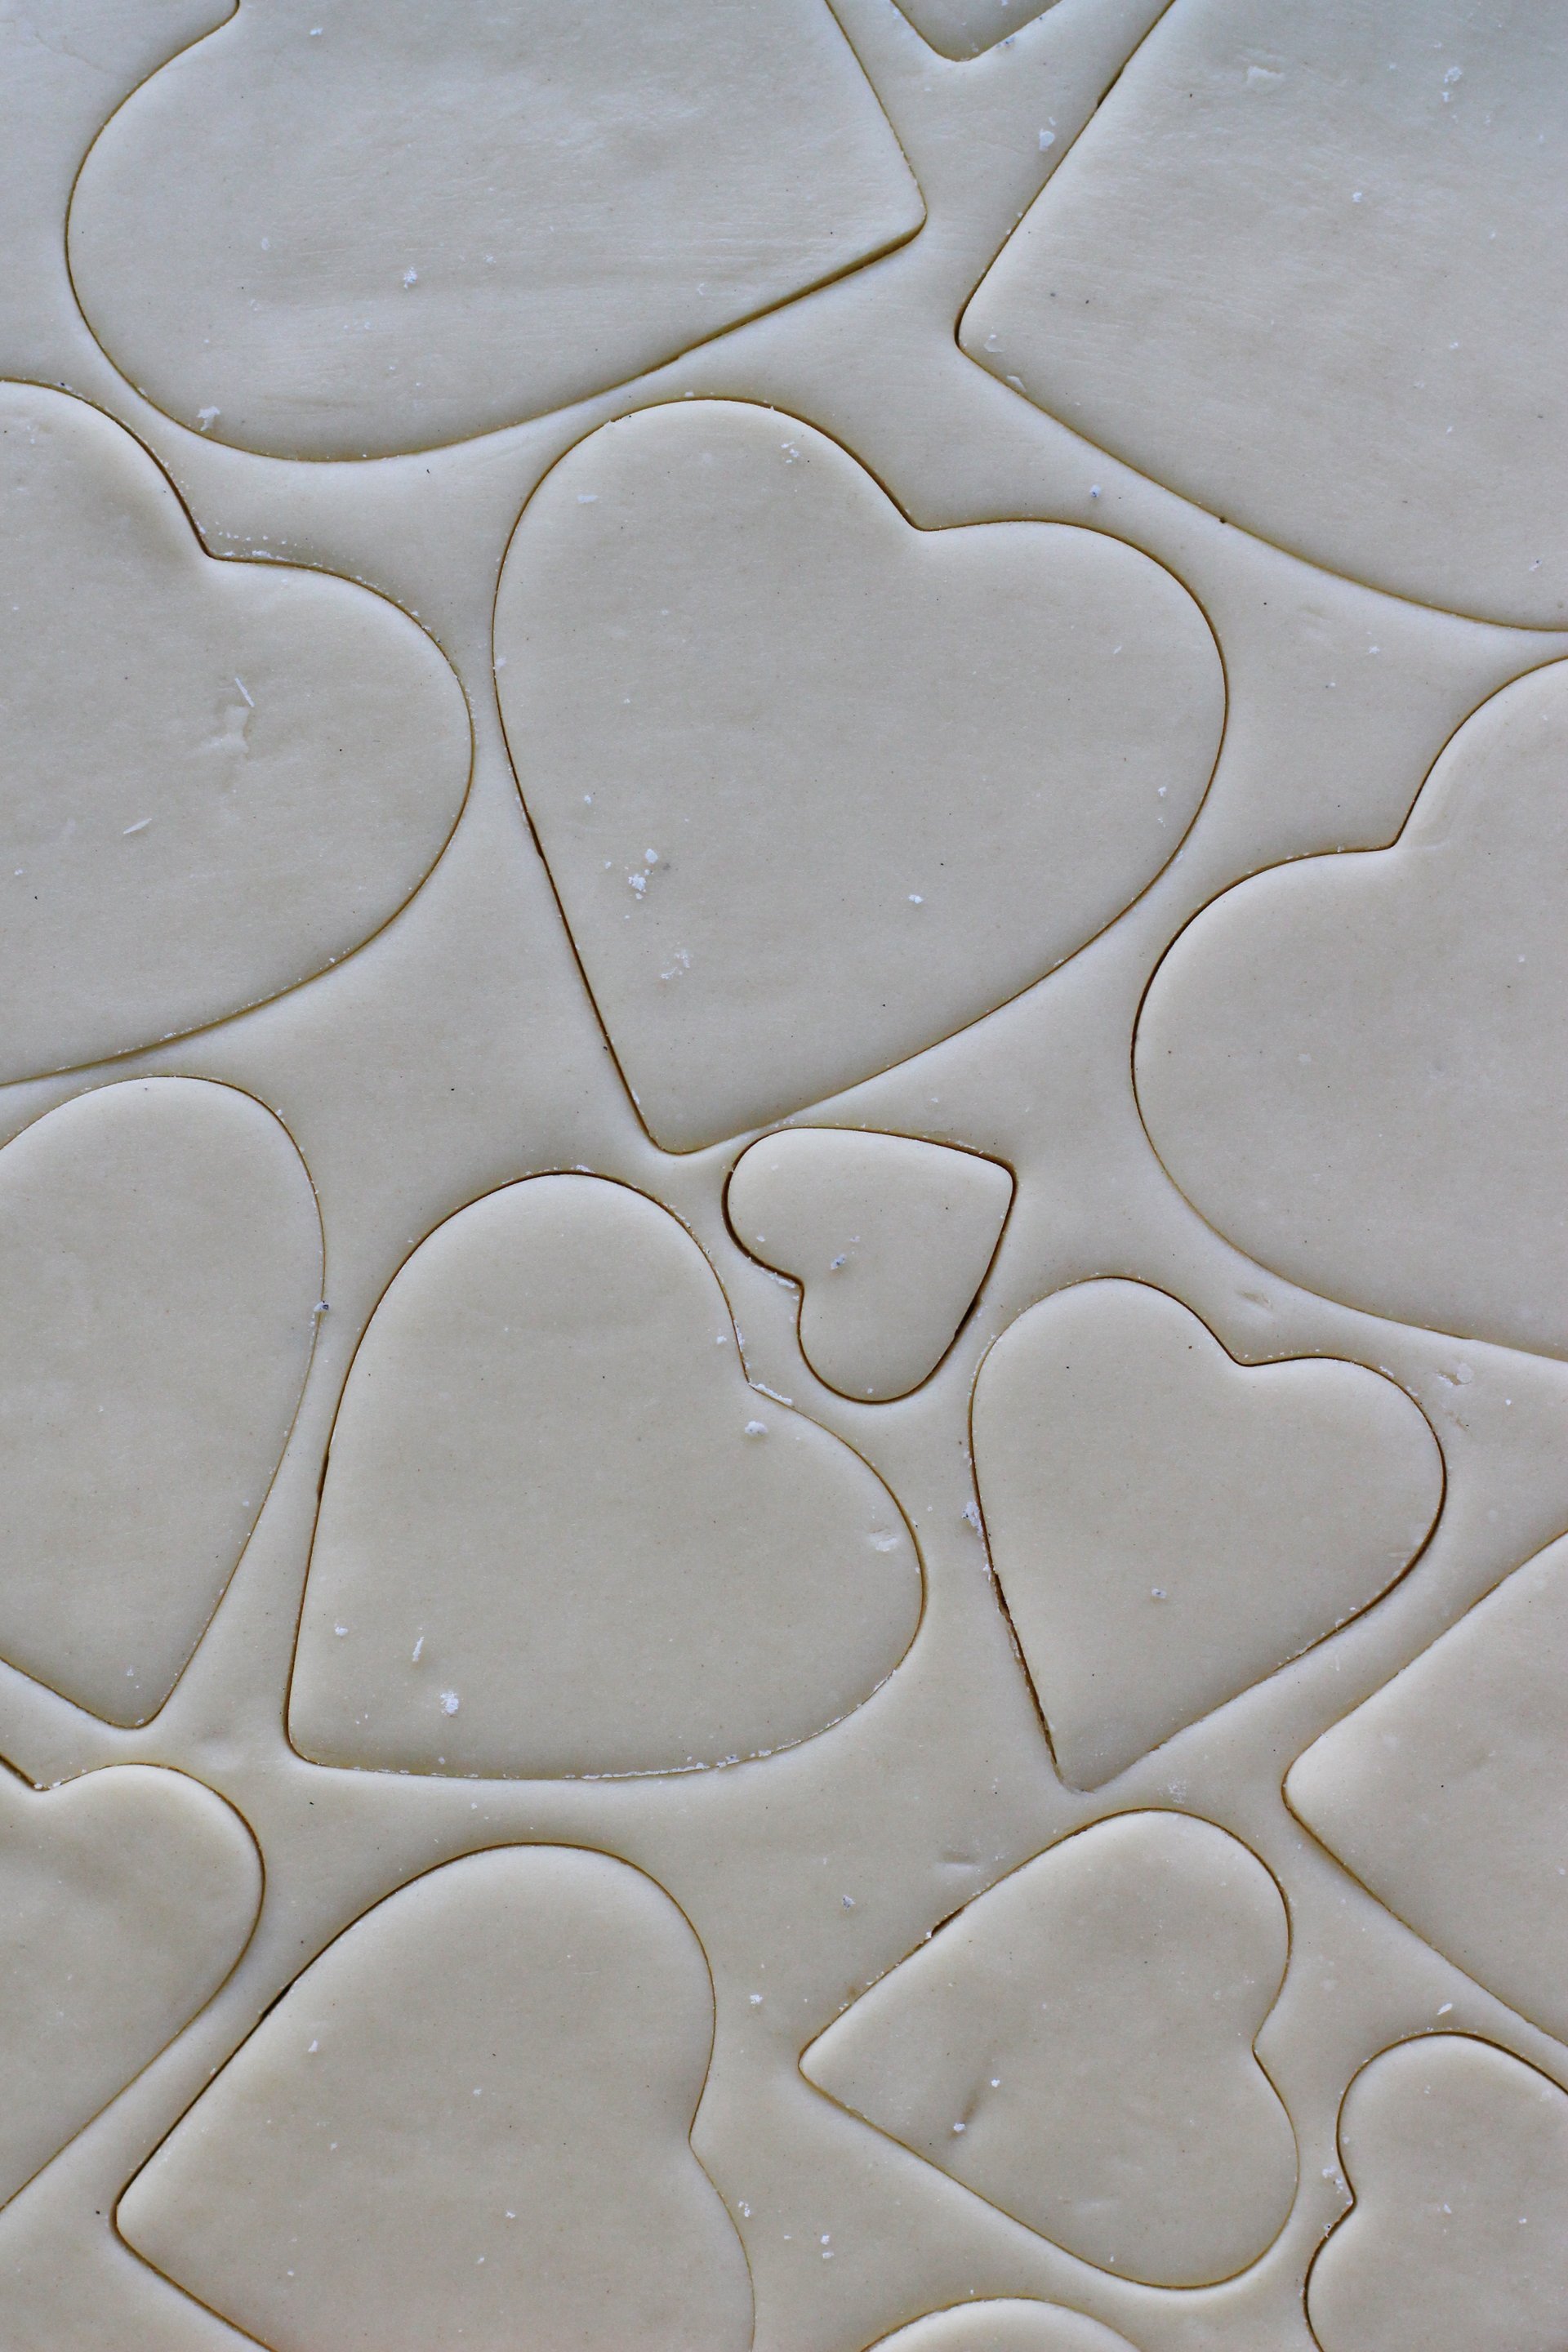
- Form a ball with the dough and roll out into an even layer, about 1/4 inch thick. I roll the dough directly onto the silpat or parchment lined cookie sheet. Preheat your oven to 300 degrees. Cut your heart shaped cookies into the dough and place the dough in the fridge for about 30 minutes. Using a small offset spatula (or small paring knife), remove the excess dough by sliding the tip under the cookies to gently lift them off the parchment or silpat and then gently move the cookies apart so they are spread out.
- Bake for about 20 minutes until the edges just start to brown. Remember that the smaller hearts will bake faster so either bake them separately or carefully remove them halfway through cooking.
Icing directions:
- In a stand mixer or large bowl, beat egg whites and lemon juice, with a whisk attachment, at low speed to combine.
- Slowly add powdered sugar, half a cup at a time until the icing starts to make soft peaks.
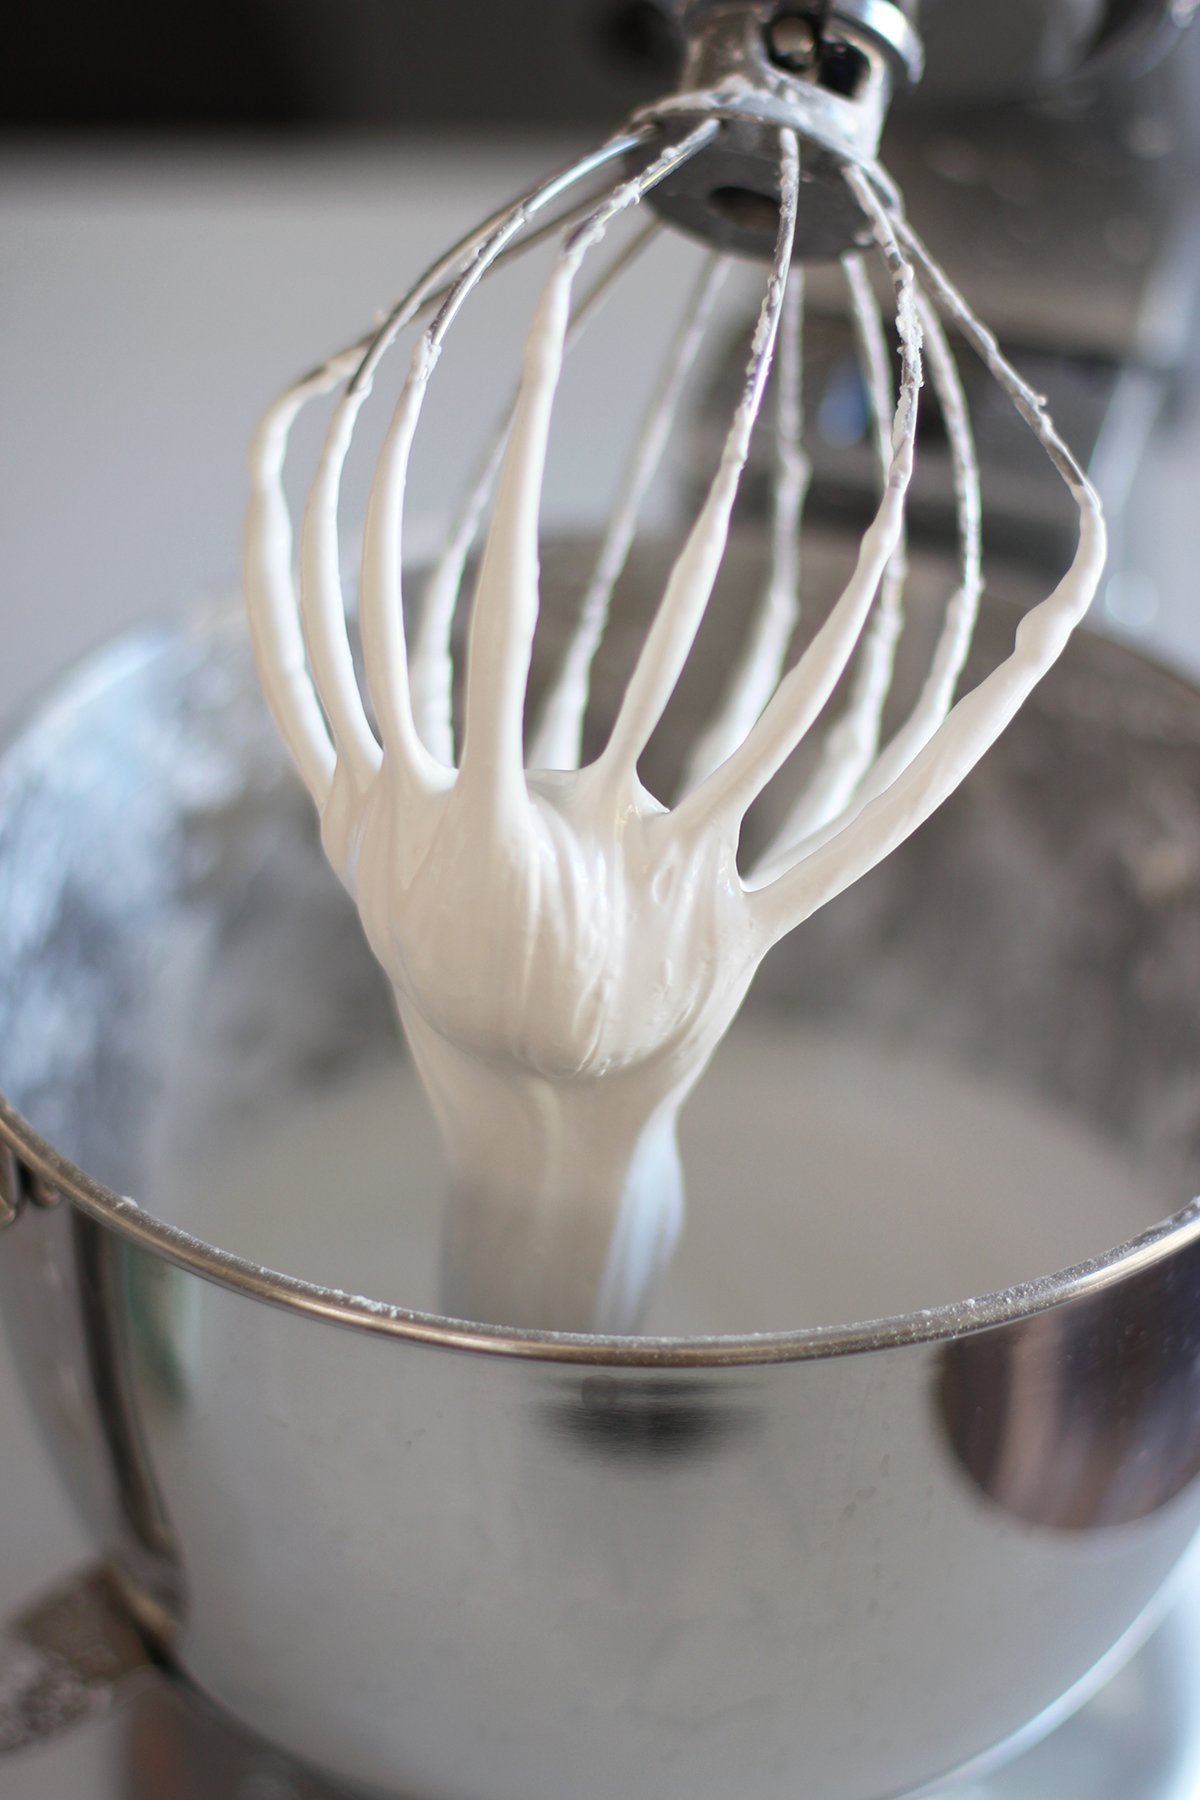
- Increase speed and start adding sugar a couple of teaspoons at a time until the icing resembles toothpaste and stiff peaks are formed when lifting the whisk. This is your piping icing.
- Scoop out about 1/2 cup of icing into separate bowl. Add food coloring and mix until your desired color is achieved.
- Put icing in a piping bag with a No.2 round piping tip and pipe a thin border around the heart cookies.
- Empty the icing back into the bowl and mix with a few drops of water at a time until the icing is thin. The icing should smooth out when you lift your spoon out of the icing. This is your runny icing.
- Spoon a bit of runny icing onto middle of the cookie and use the back of a spoon to push the icing to the inside edges of the border.
- Continue to repeat these steps with different colors, making sure to reserve at least a cup of piping icing for the lettering.
- Allow the icing to dry completely before piping on the lettering.





Wait, where is my personalized one?!
YOU TOTALLY SLAY, OKAY!!! These cookies are the cutest and while I’m with you on commercialized holidays, this one with all its hearts, is pretty darn cute. <3