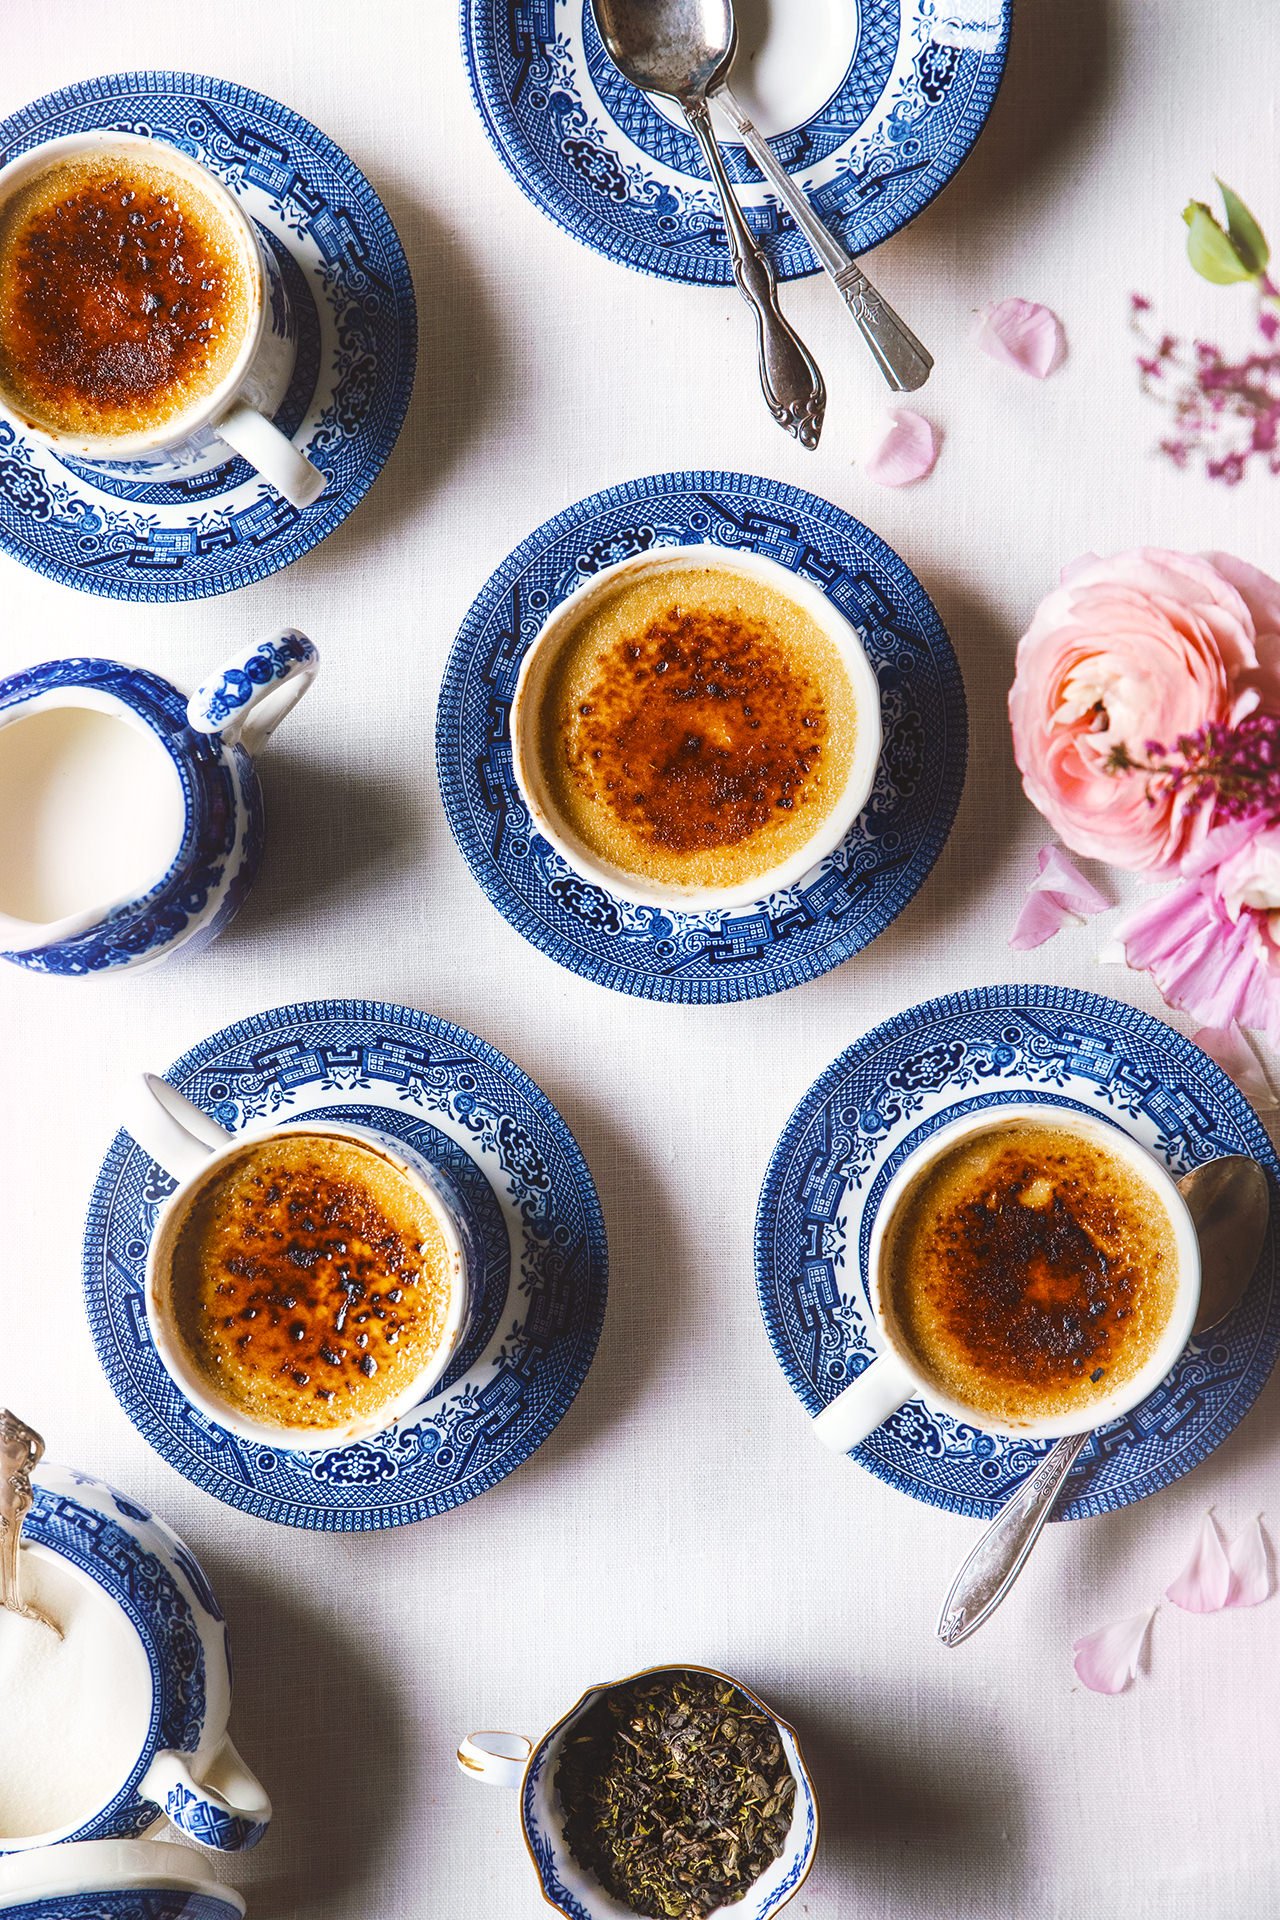
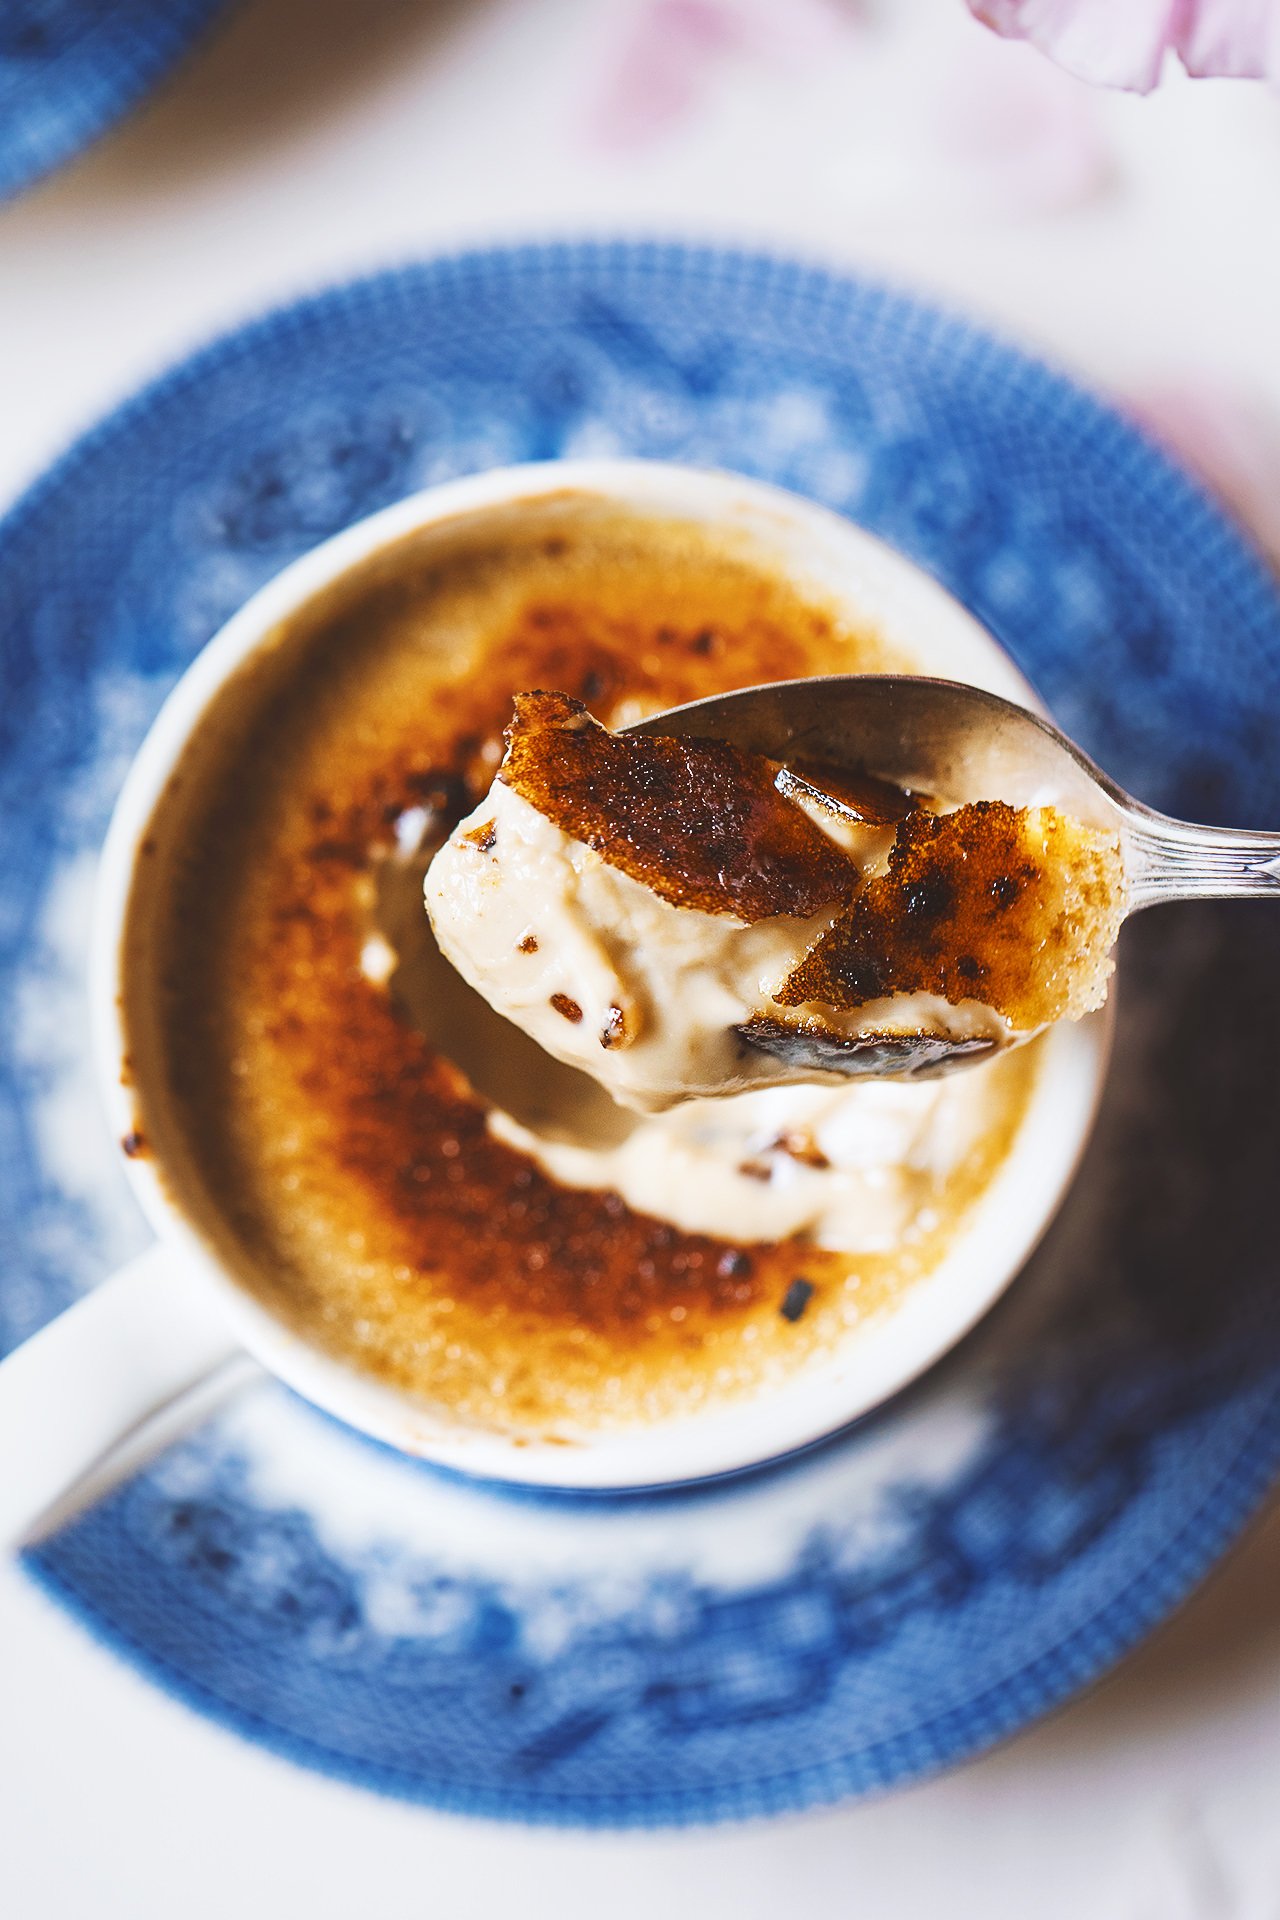
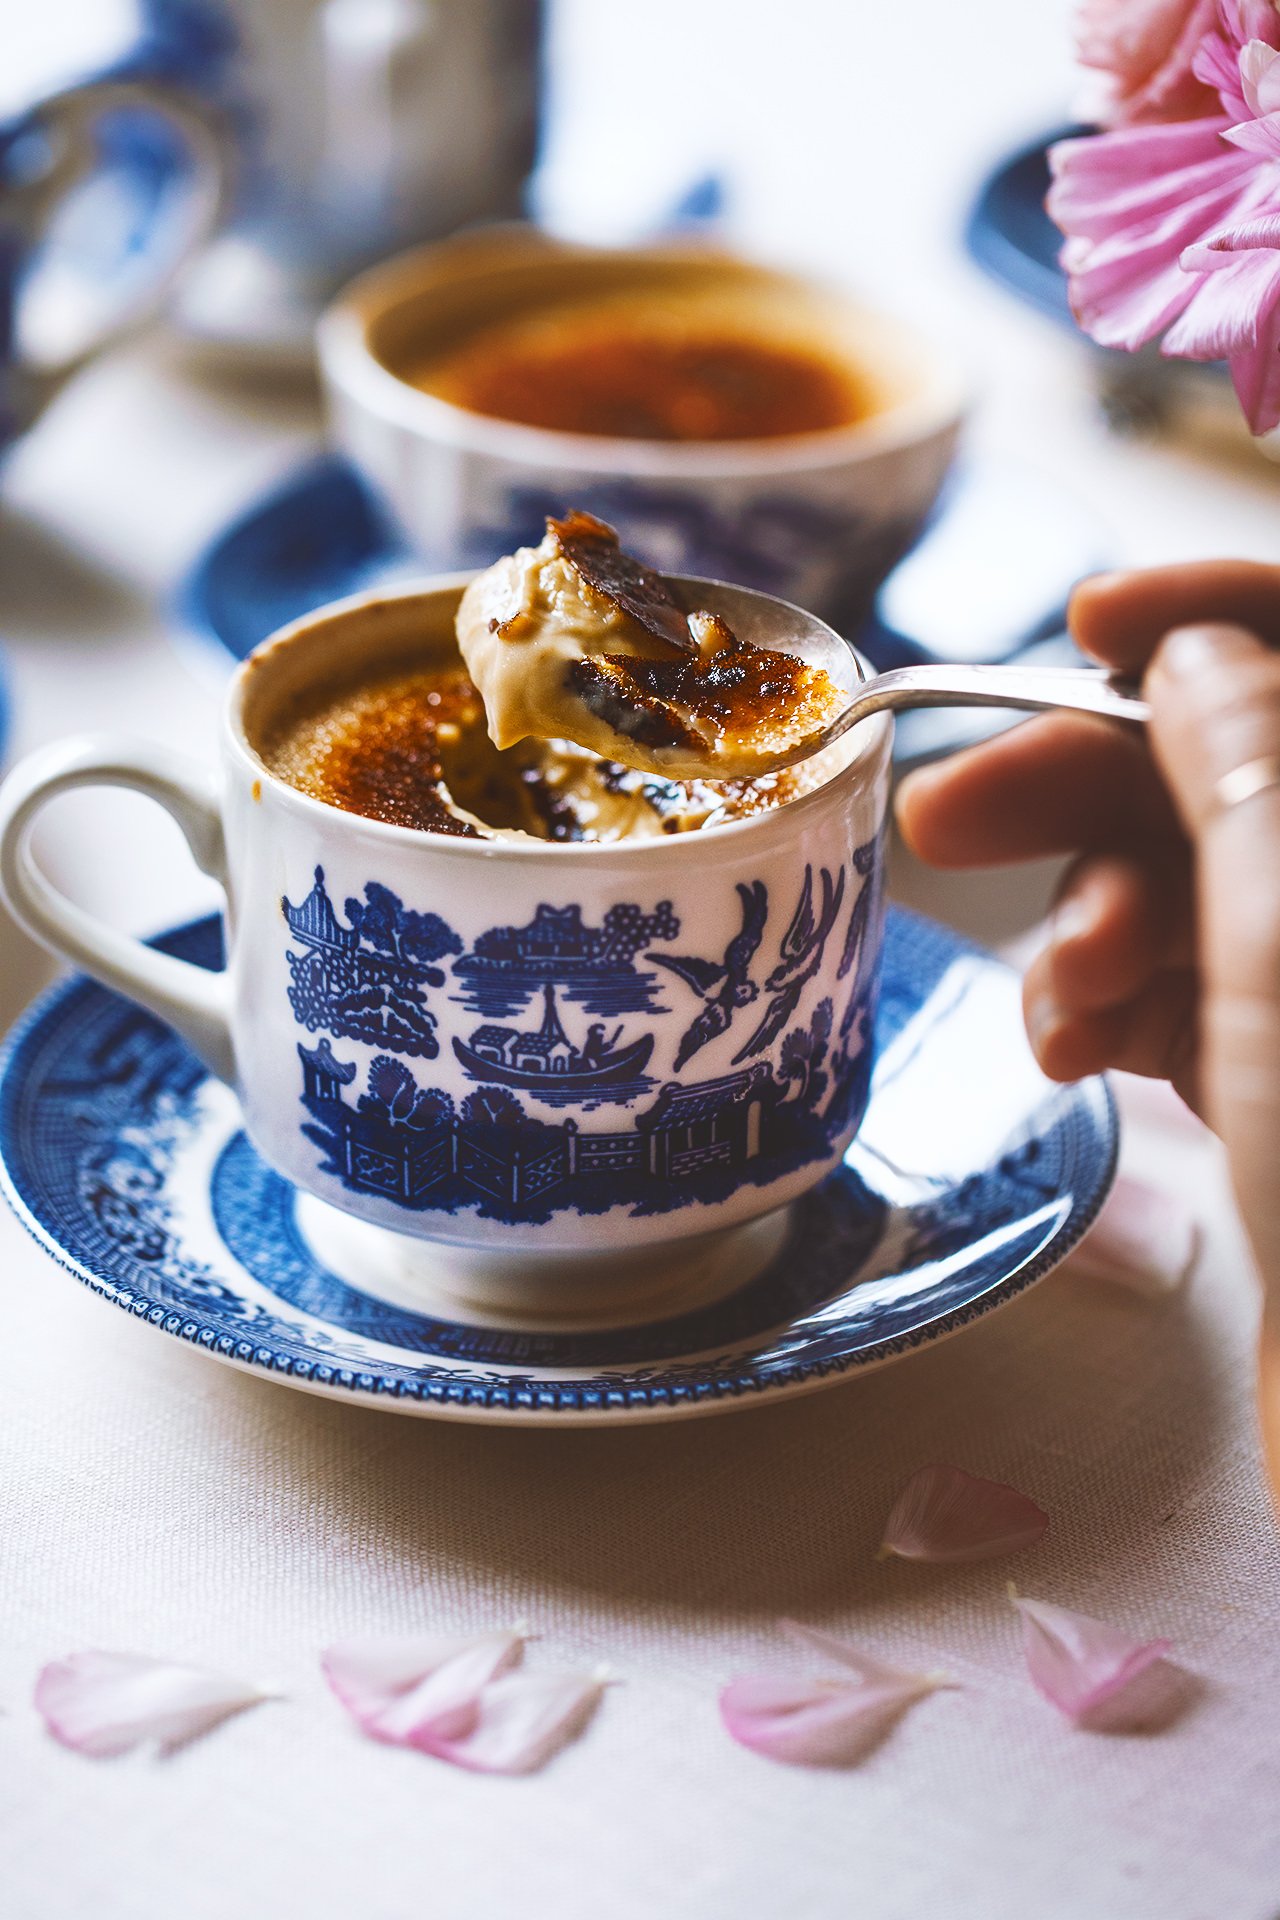
If you haven’t noticed yet, I’m a bit obsessed with infusing my desserts with tea. My go-to is usually Earl Grey (I just love the subtle bergamot flavor) and I’ve done an Earl Grey crème brûlée before. This time, I thought I’d change up this simple crème brûlée with oolong tea. I had never thought to use oolong tea, a lightly roasted tea– slightly floral and full-bodied, in a dessert, until I had Humphry Slocombe’s Oolong tea ice cream that changed my life. Okay, that’s an exaggeration, but I still think about that ice cream to this day. This oolong tea crème brûlée had all the silky rich texture and subtle fragrant tea flavor that I loved in the ice cream with the added caramelized crunchy sugar. If you haven’t experimented with tea and desserts, I think you’re going to love this one!


INGREDIENTS
- 2 cups heavy cream
- 6 egg yolks
- 3 bags oolong tea
- 4 tablespoons granulated sugar (plus more for caramelized sugar)
- 1 pinch kosher salt
INSTRUCTIONS
- Preheat the oven to 325° F with the oven rack in the middle position.
- Pour the cream into a small pot and heat until scalding-- just until the edges begin to form bubbles. Lower heat to the lowest possible heat setting and add tea bags. Steep for about 5 minutes, occasionally pressing the tea bags against the side of the pot with the back of a spoon very gently, trying not to break the tea bags open. The cream should be a light pale brown.
- In a separate large measuring bowl or bowl with a spout (I like to use this if possible to make it easier to pour into ramekins), whisk the egg yolks and sugar together.
- Press the tea bags against the side of the pot a last time and remove tea. Slowly pour the cream in a small stream into the egg mixture whisking constantly.
- Line a deep baking dish with a towel and place your brulee ramekins on top of the towel. Fill the ramekins by pouring the cream mixture through a small sieve. Skim the tops with a spoon to remove most of the foam/bubbles.
- Pour hot water into the baking dish over the towels until it reaches about halfway up the side of the baking dish. Tent the baking dish with foil.
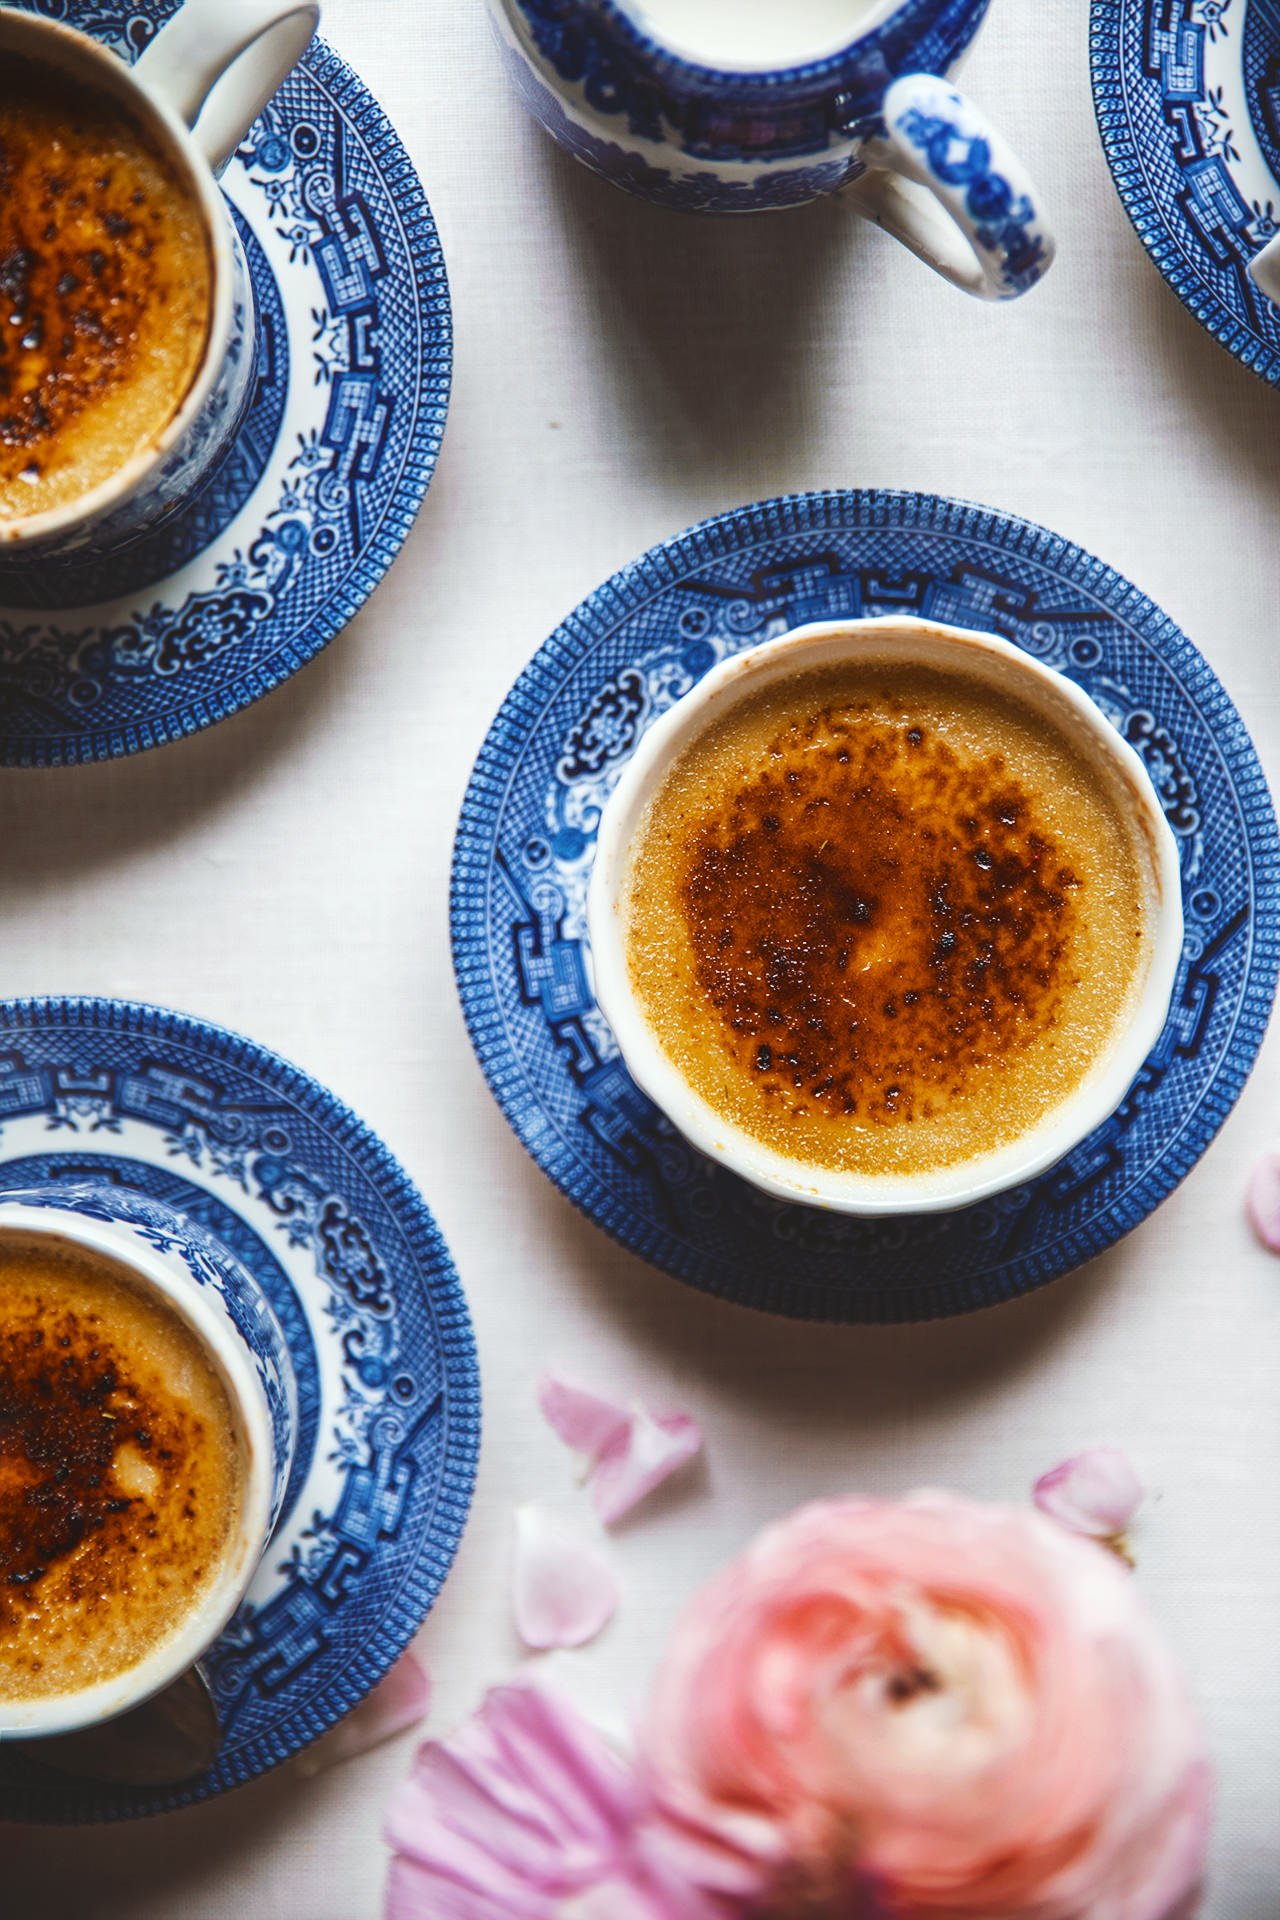
- Bake for 20-25 minutes until center jiggles ever so slightly. The tea cups I used here were larger and deeper than your average ramekin so I had to almost double my baking time.
- Allow ramekins to cool to handle and cover with plastic wrap and transfer to the refrigerator for at least 3 hours or overnight.
- Lightly pat the tops of the creme brulee to remove excess moisture and sprinkle an even layer of sugar on top. Using a kitchen torch, caramelize the tops until golden brown. Alternatively you can use an oven broiler but sugar goes from perfect to burnt very quickly so set it on a low rack and constantly keep an eye on it, turning the pan as needed.
(images by HonestlyYUM)
It would be helpful if you could list the number of servings this recipe yields. Thanks!
this sounds amazing! i love crème brulee! when we eat out if crème brulee is on the dessert menu i choose my main carefully to ensure that i can have dessert
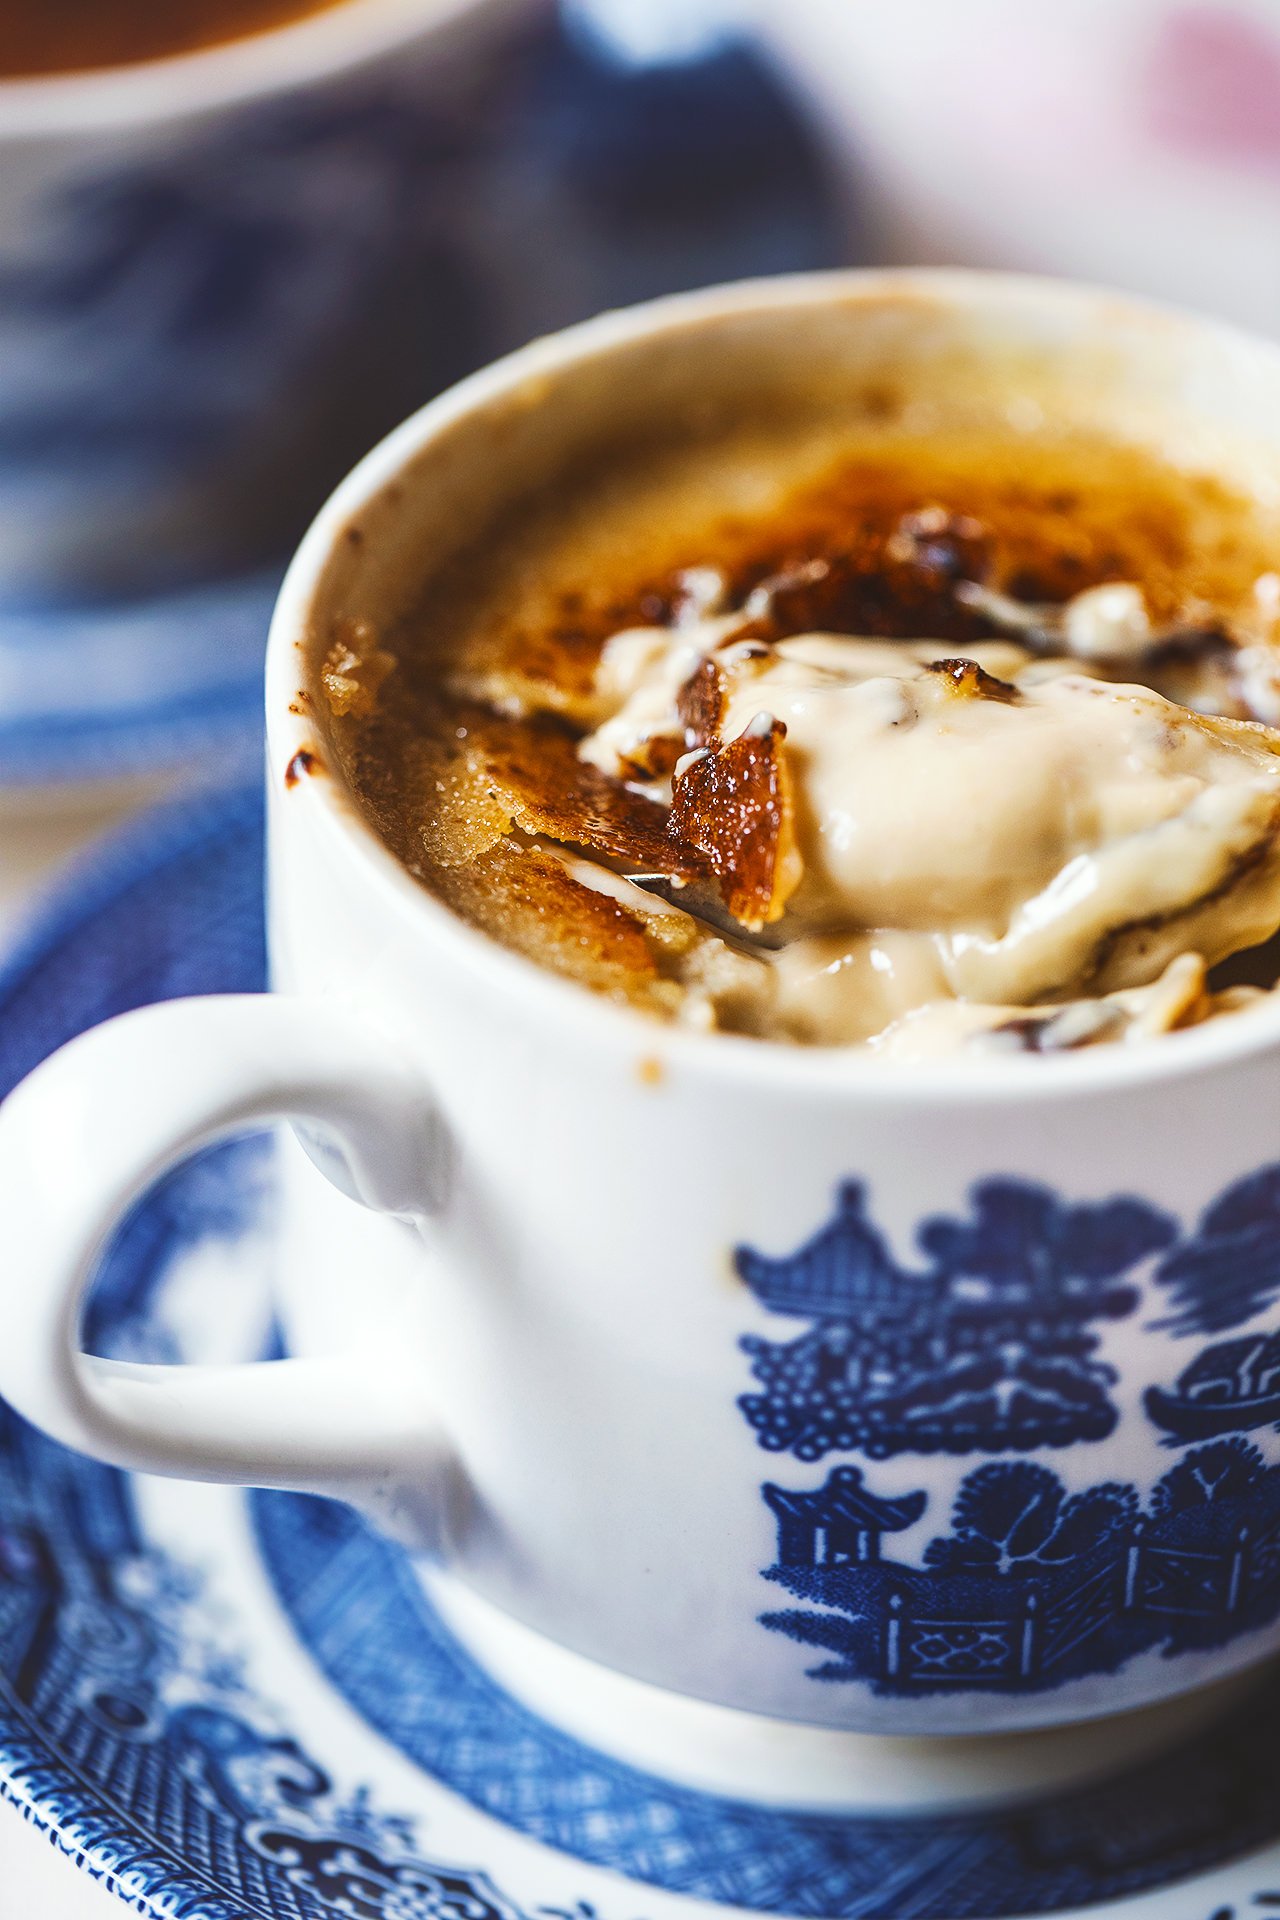
This sounds amazing- I love the use of the tea cups, such a creative and pretty presentation!
xo
Phyllis
http://desgeulasse.com/